The first time I tried edging my lawn, I honestly thought it would take one afternoon and maybe two trips to the hardware store. I was wrong on both counts.
What started as a simple “clean up the flower beds” project turned into me dragging muddy bricks across the yard at sunset. At the same time, my neighbor casually watched from his driveway, holding a coffee mug like he was judging a home renovation show.
But after a few failed attempts, crooked lines, and one section that sank after heavy rain, I finally figured out what actually works when it comes to lawn edging bricks.
And here’s the thing most gardening articles won’t tell you: the brick style matters way more than people think.
Some bricks shift after one season. Some collect weeds like crazy. Others look beautiful in photos but become a maintenance headache in real life.
So if you’re planning to create a clean, eye-catching lawn border, here are the lawn edging bricks I’d genuinely recommend based on durability, appearance, and ease of installation.
Why Lawn Edging Bricks Make Such a Big Difference?
Before I started using edging bricks, my garden beds always looked unfinished. Even after mowing, trimming, and mulching, the lawn still blended awkwardly into the flower beds.
Once I added brick edging, the whole yard suddenly looked intentional.
It’s one of those small upgrades that makes people think you spent way more money than you actually did.
Good edging bricks help:
- Keep grass from spreading into flower beds
- Stop mulch from washing away
- Create cleaner mowing lines
- Improve curb appeal instantly
- Reduce weekly yard maintenance
If you’re also looking for what to plant between the bricks and your lawn, these walkable ground cover ideas pair perfectly with brick edging.
And unlike plastic edging, bricks don’t usually look cheap after one summer in the heat.
1. Classic Red Clay Bricks

These were the first edging bricks I ever used, mainly because I found reclaimed ones from an old patio project.
They’re affordable, timeless, and surprisingly versatile.
I laid them diagonally around a curved flower bed, and even though the installation wasn’t perfect, they immediately gave the yard a cozy cottage-garden look.
What I Like
- Easy to find locally
- Budget-friendly
- Great for curved borders
- Natural weathered appearance over time
One Thing to Watch Out For
Cheap clay bricks can crack in areas with heavy freeze-thaw cycles. I learned that the hard way after one rough winter.
If you live somewhere with extreme weather, go for kiln-fired landscaping bricks instead of standard construction bricks.
2. Tumbled Concrete Edging Bricks
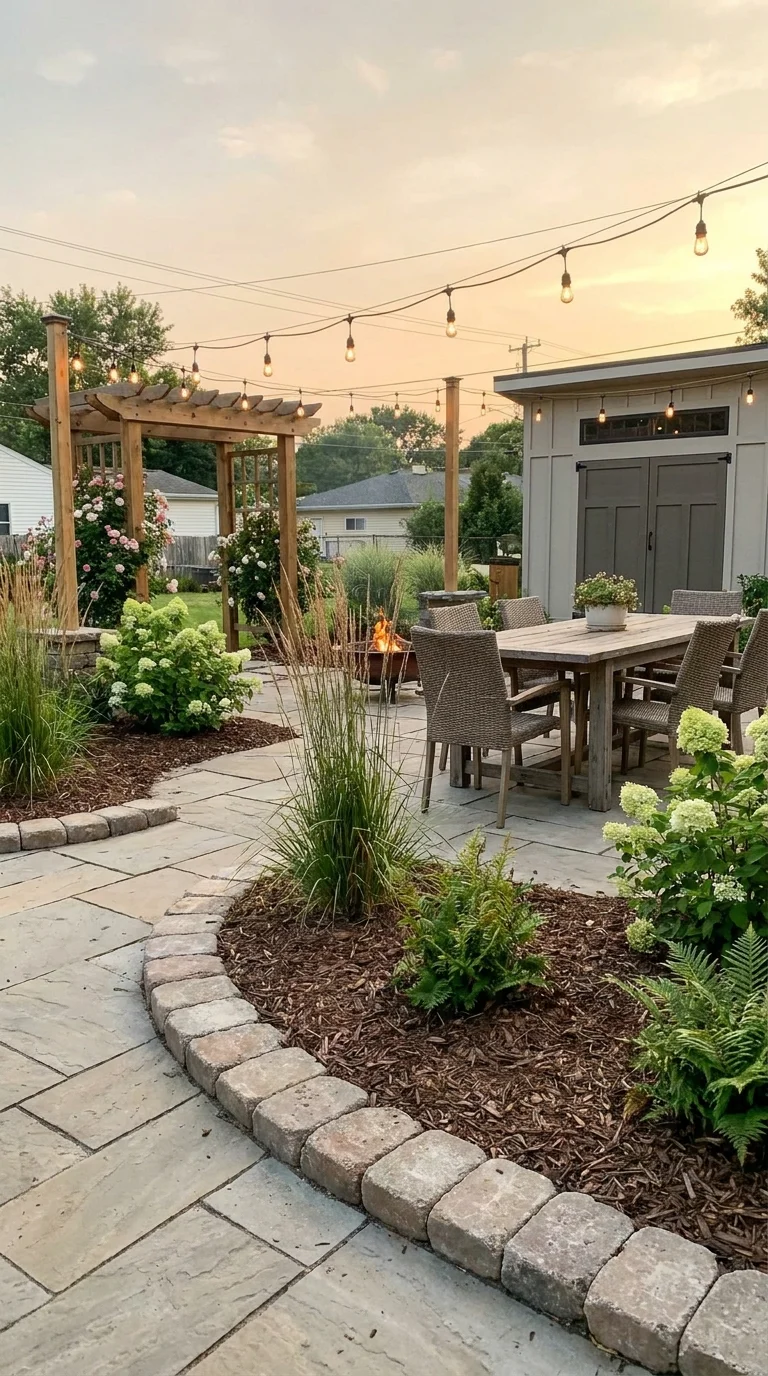
These are perfect if you want that slightly aged, rustic appearance without waiting 10 years for nature to do it.
I used tumbled concrete bricks near a backyard fire pit because they matched the patio pavers almost perfectly.
They’re heavier than clay bricks, which actually helps keep them in place.
Best For
- Modern farmhouse landscapes
- Patios and walkways
- Long straight borders
Real-Life Tip
Use leveling sand underneath. I skipped this step once and ended up with uneven sections after heavy rain.
Trust me — spending an extra 20 minutes leveling the base saves hours later.
3. Cobblestone Edging Bricks
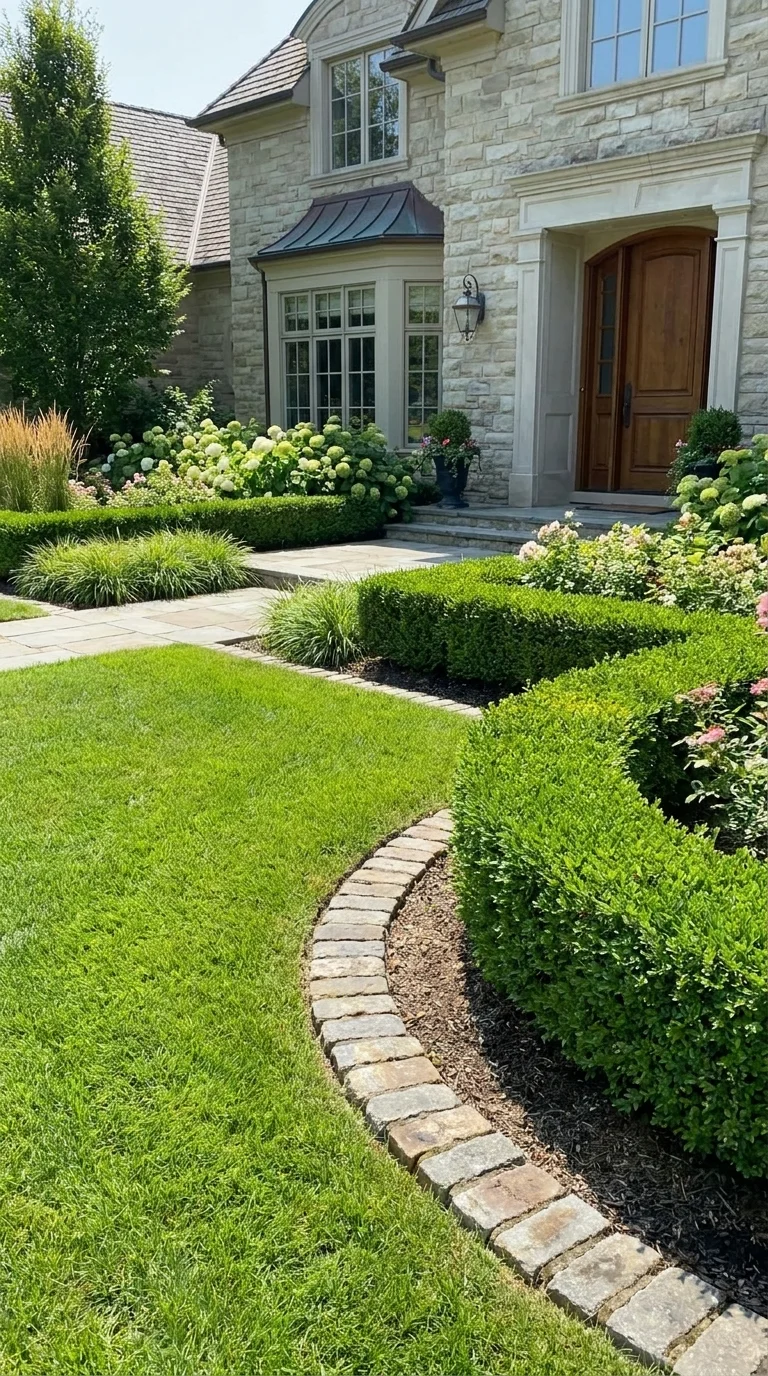
Cobblestone edging gives your yard a high-end landscaped look almost instantly.
The downside?
They’re heavier and more expensive.
I helped my cousin install these around his driveway landscaping, and by the end of the day, both of us were questioning our life choices while hauling stones in a wheelbarrow. But visually, they’re stunning.
Why People Love Them
- Extremely durable
- Premium appearance
- Excellent for driveways and front yards
- Handles the weather very well
My Honest Advice
Don’t rush spacing. Uneven gaps stand out badly with cobblestone.
4. Interlocking Landscape Edging Bricks

These are probably the easiest options for beginners. The first time my brother tried landscaping his front yard, he used interlocking edging bricks because he had zero experience using masonry tools.
The system basically guides itself into place.
Great For
- DIY beginners
- Quick weekend projects
- Curved garden beds
One Unexpected Benefit
They shift less over time because the pieces connect. That alone can save you from constant adjustments every spring.
5. Natural Stone Brick Edging

This style works beautifully in relaxed, organic-looking gardens.
I used natural stone edging near a small vegetable patch because perfectly uniform bricks felt too formal for the space.
The result looked much more natural and blended better with the plants.
Pros
- Unique appearance
- No two stones look identical
- Blends beautifully with gardens
- Long-lasting
Cons
- Takes longer to install
- Harder to align evenly
- Can cost more
Still, if you enjoy a more handcrafted landscape look, these are worth it.
6. Charcoal Paver Bricks
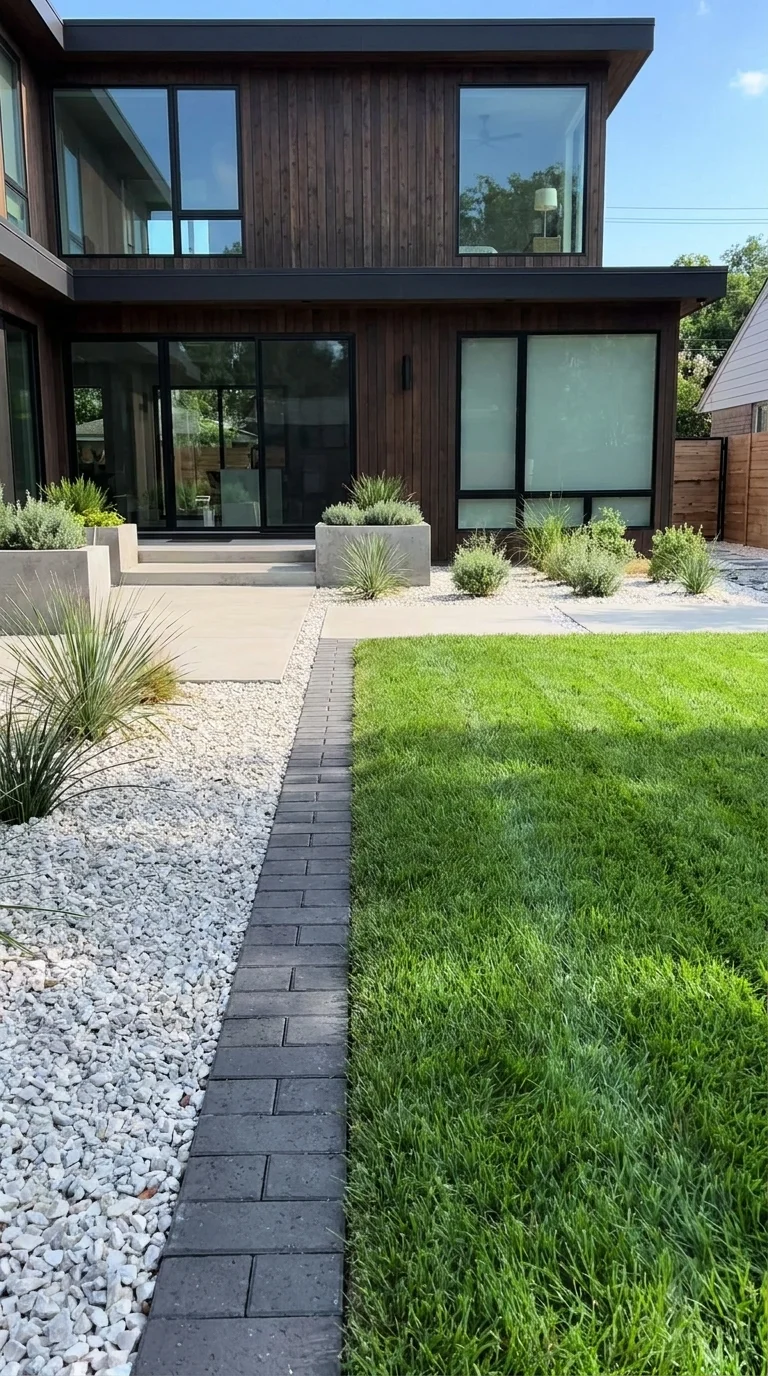
These became really popular in newer neighborhoods around my area.
Dark charcoal edging creates a strong contrast against green grass, especially if your home has modern exterior colors.
I used them around white gravel landscaping once, and the contrast looked incredible.
Best Match
- Contemporary homes
- Minimalist landscaping
- White stone or gravel beds
Small Warning
Dark pavers absorb heat fast. In full sun, they can get surprisingly hot during summer afternoons.
7. Brick Paver Edging with Built-In Lip

These are more practical than decorative.
The built-in lip helps prevent movement and keeps mulch contained better than standard flat bricks.
I started using these near sloped flower beds after getting tired of mulch washing onto the sidewalk every time it rained hard.
Huge improvement.
Perfect For
- Sloped yards
- Heavy rainfall areas
- Mulched flower beds
8. Reclaimed Antique Bricks
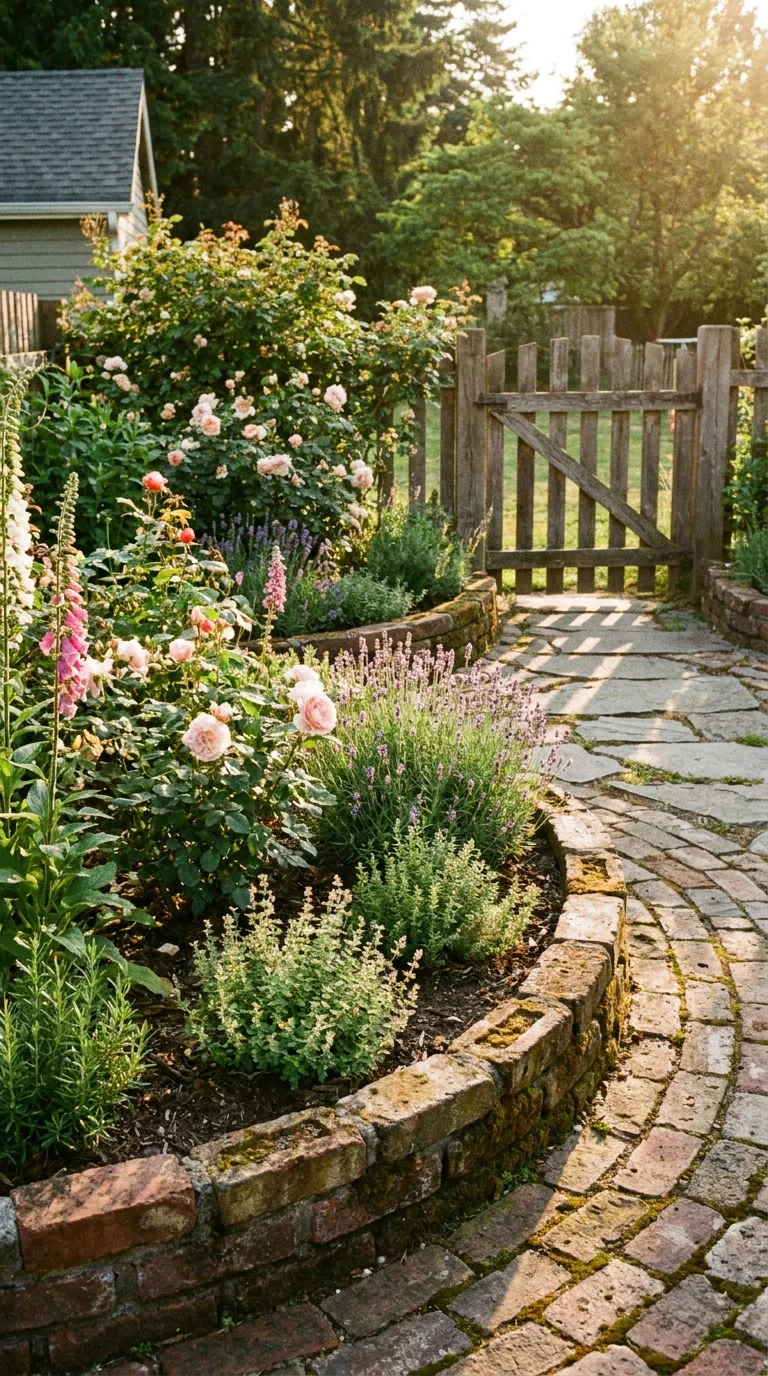
These have a character you simply can’t fake.
Some of the best garden borders I’ve seen used old reclaimed bricks with chipped edges and faded colors.
I found a batch from a demolished school building years ago, and they became my favorite edging material.
Why They Stand Out
- Unique weathered appearance
- Eco-friendly option
- Strong vintage charm
- Often very durable
Mistake to Avoid
Check for old mortar buildup before buying. Cleaning bricks one by one is not fun.
9. Belgian Block Edging

These are incredibly solid.
You’ll often see Belgian blocks around upscale driveways because they handle vehicle weight and harsh weather extremely well.
They’re expensive compared to standard bricks, but they basically last forever.
Best Uses
- Driveway borders
- Large landscapes
- High-end curb appeal projects
Real Observation
Installation takes patience because each block is heavy and slightly different in shape. Definitely not a “quick afternoon project.”
10. Decorative Scalloped Edging Bricks

These aren’t everyone’s style, but they work well in traditional gardens.
My aunt uses scalloped edging around her rose beds, and honestly, it fits the space perfectly.
They create a softer, decorative appearance compared to straight modern pavers.
Good Choice For
- Cottage gardens
- Flower-heavy landscapes
- Traditional homes
What to Know
Some cheaper versions fade faster in direct sunlight, so quality matters here.
How do I Install Lawn Edging Bricks Without Regretting It Later?
After messing this up more than once, here’s the method that actually works consistently.
Step 1: Mark the Border First
Use a garden hose or spray paint before digging.
I skipped this once and ended up with awkward curves that bothered me every time I looked outside.
Step 2: Dig a Proper Trench
Most edging bricks need a trench about 4–6 inches deep.
Don’t just place bricks on top of grass.
They’ll shift quickly.
Step 3: Add a Base Layer
I usually use:
- Crushed gravel
- Paver base
- Leveling sand
This improves drainage and stability.
Step 4: Check the Level Constantly
A cheap bubble level can save your entire project.
One uneven section becomes painfully obvious later.
Step 5: Lock Everything In
For permanent borders, I sometimes add polymeric sand between joints.
Especially around patios.
It dramatically reduces weed growth.
Common Lawn Edging Mistakes I’ve Made
Here are the biggest errors I learned the hard way.
Choosing Looks Over Durability
Some decorative bricks simply don’t survive harsh weather well.
Always think long-term.
Not Accounting for Drainage
Poor drainage causes sinking and shifting.
If water pools in your yard, prioritize a solid gravel base.
Making Borders Too Shallow
Grass spreads aggressively.
If edging isn’t deep enough, the lawn eventually creeps into flower beds anyway.
Ignoring Maintenance Access
Leave enough room for mowing and trimming.
Tight corners become annoying fast.
Which Lawn Edging Brick Is Best Overall?
If someone asked me for one safe recommendation, I’d probably say:
- For budget-friendly projects: Classic red clay bricks
- For durability: Belgian blocks
- For the easiest installation: Interlocking edging bricks
- For appearance: Natural stone or cobblestone
- For modern homes: Charcoal pavers
Honestly, the “best” choice depends more on your yard style and maintenance habits than price alone. I’ve seen simple red bricks look amazing in the right garden. And I’ve seen expensive stone borders installed poorly enough to ruin the whole landscape.
Final Thoughts
Lawn edging seems like a tiny landscaping detail until you actually install it. Then suddenly your flower beds look cleaner, mowing becomes easier, and the entire yard feels more organized. If I could go back and redo my first edging project, I’d spend less time obsessing over perfect brick styles and more time preparing the base properly.
That’s the part that really determines whether your border still looks good two years later. Start simple if you’re new to landscaping. Even a basic brick border can completely change how your yard looks — and once you finish that first section, you’ll probably start eyeing every garden bed on your property thinking, “Yeah… this area could use edging too.”

Shahid Nawaz is a home and garden content writer at Garden Skillz with over 4 years of experience researching and writing about gardening, plant care, and DIY home improvement. He specializes in turning complex horticultural topics into practical, easy-to-follow guides for beginners and experienced growers alike. Shahid has written extensively on flowering plants, indoor greenery, and seasonal garden care.