The first night I slept in our cabin bedroom, I stared at the ceiling for two hours — not because I was nervous, but because it was just so blah. Bare log walls, a mattress on a squeaky metal frame, a single bare bulb doing absolutely nothing for the atmosphere. I kept thinking: this space has so much potential and I’m wasting every inch of it.
Fast forward two years, and that same room has become the most photographed spot in our entire property. Guests ask about it the moment they walk in. My sister-in-law literally demanded a mood board after her visit. And I did all of it on a budget that would make most interior designers laugh.
But here’s the thing — getting a cabin bedroom right isn’t about spending more money. It’s about understanding what makes a cabin feel like a cabin and not just a generic bedroom with some pine nearby. I learned that the hard way. I also ruined a gorgeous wool blanket trying to make it into a wall hanging (don’t ask), ordered a chandelier that arrived two sizes too big, and once painted an accent wall the exact color of old mustard.
So let me save you some pain. These are the eight cabin bedroom makeovers that actually impressed people — and more importantly, that actually work.
1: The Layered Rustic Bed Build — Platform Frame with Live-Edge Headboard
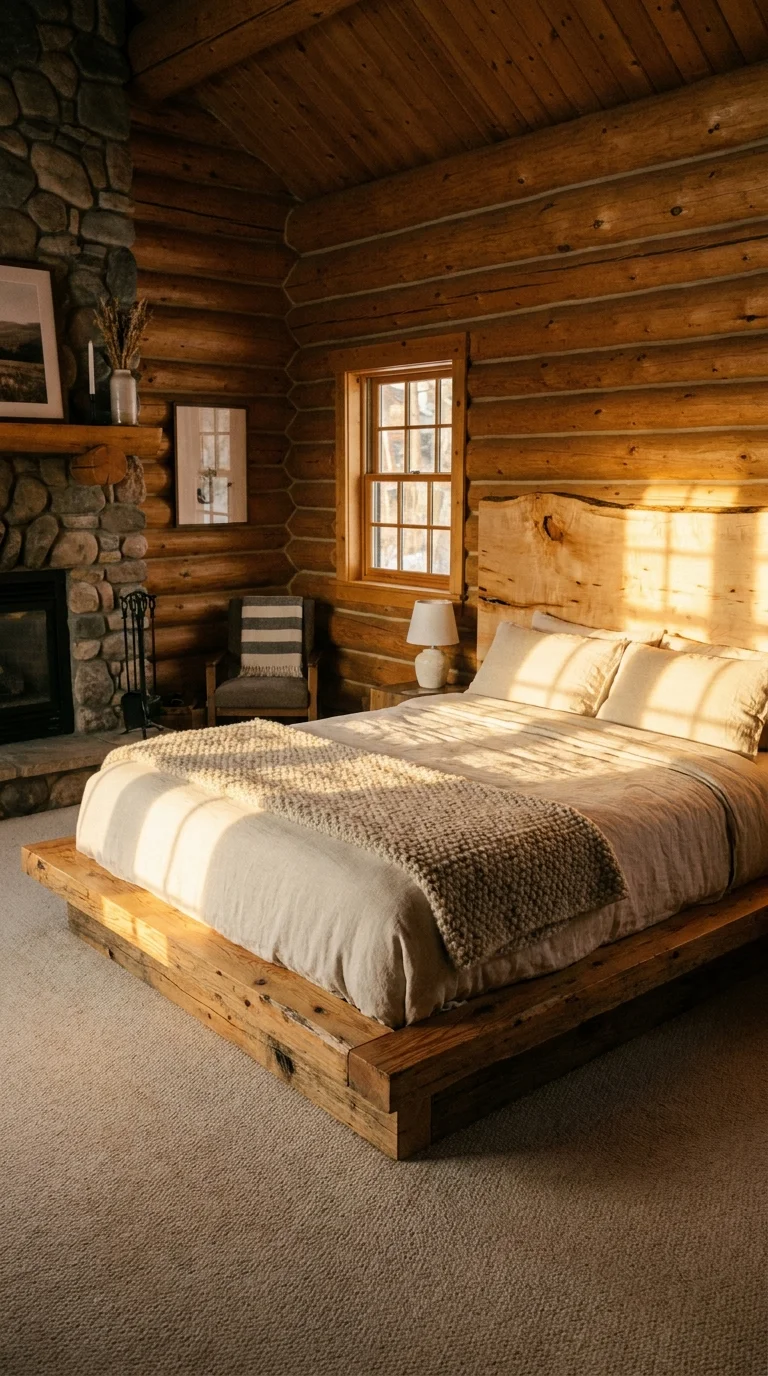
The bed is the anchor of any bedroom, but in a cabin, it’s everything. The first time I replaced our sad metal frame with a low-slung platform bed made from rough-cut Douglas fir, the whole room shifted. It suddenly felt intentional. Grounded. Like the room had a reason for being there.
The headboard was the part that took me forever to figure out. I spent weeks pinning things on Pinterest before I realized the answer was literally in the woods behind our property — a fallen birch tree with this incredible natural curve along its edge. I had it milled locally (a quick Google for “portable sawmill near me” found someone 40 minutes away), sealed it with Rubio Monocoat in Pure, and bolted it to a simple 2×6 frame behind the bed.
The result? Our guests consistently say it’s the first thing they notice. It’s dramatic without being overdone, and it costs a fraction of what those manufactured live-edge headboards go for on Etsy.
How to build yours
- Source a slab of live-edge wood — birch, walnut, or cedar all work beautifully. Aim for 2–3 inches thick so it reads as substantial.
- Sand progressively from 80 to 220 grit. Don’t skip grits; the finish will show.
- Apply 2–3 coats of a hardwax oil (Rubio Monocoat or Osmo are both excellent). This protects without plasticizing the surface.
- Build a simple ledger board system on the wall at mattress height and mount your slab to it with threaded rods from behind.
- Build your platform frame from 4×6 posts and 2×6 rails — YouTube has dozens of guides, and it genuinely is a one-weekend project.
2: Moody Dark Wood & Linen Palette — The Unexpected Color Shift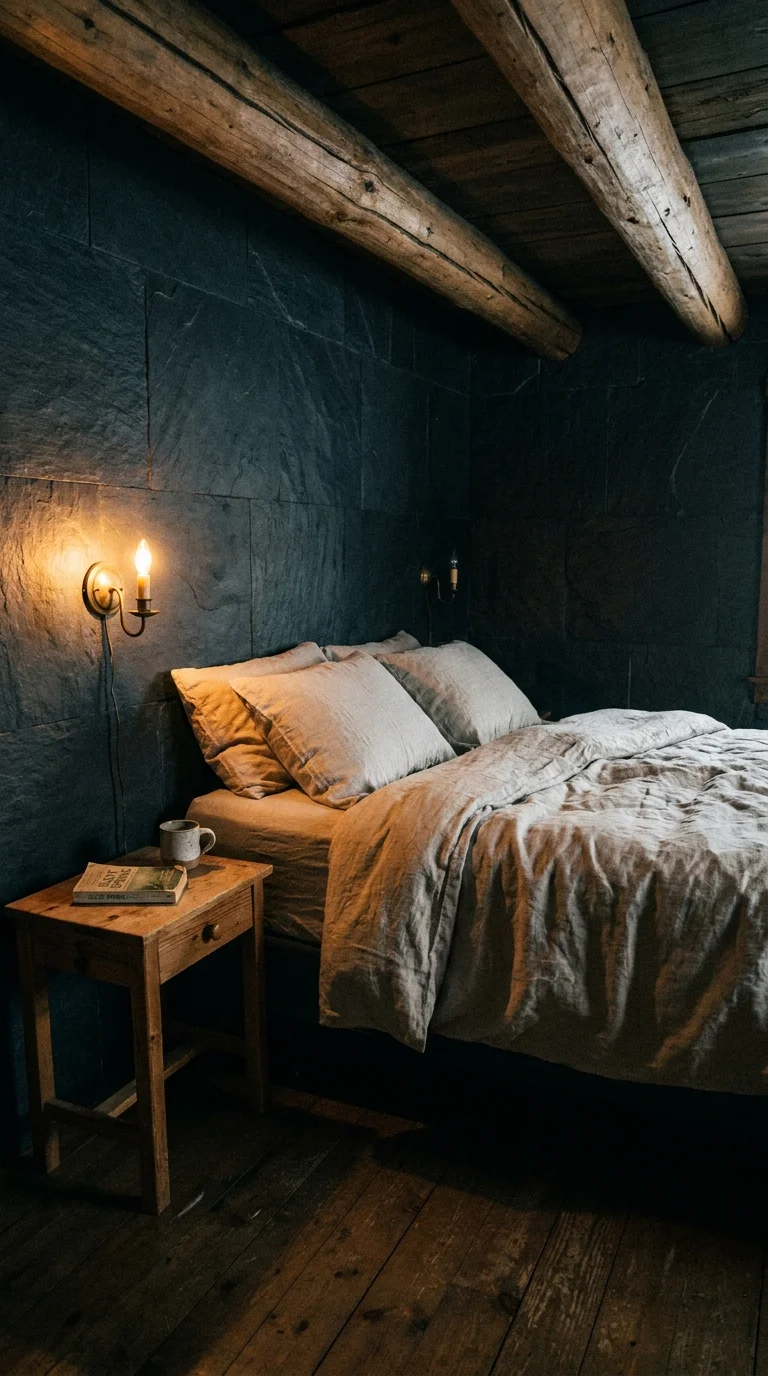
Most people automatically reach for cream and warm white when they think “cabin bedroom.” And yes, that works. But the most dramatic transformation I’ve ever done cost less than $200 and involved going darker — not lighter.
I painted the interior walls of our smaller guest cabin room in Farrow & Ball’s “Down Pipe” (a deep blue-grey) and paired it with raw linen bedding from Cultiver. The log ceiling stayed natural. The floor stayed bare pine. But with those dark walls, the entire room felt like a moody mountain retreat — the kind of place you’d imagine a Victorian naturalist retiring to after a long day in the field.
Everyone who sees it says it feels “expensive.” It doesn’t feel expensive. It just feels considerate.
The thing most people get wrong with a dark palette in a small space is that they then try to counteract it with too many light elements, which creates a confused room that feels neither dark nor light. Commit. One or two natural wood pieces against those dark walls are all you need. Let the moodiness breathe.
3: The Cozy Reading Nook Corner — Turning Dead Space into the Best Spot in the Room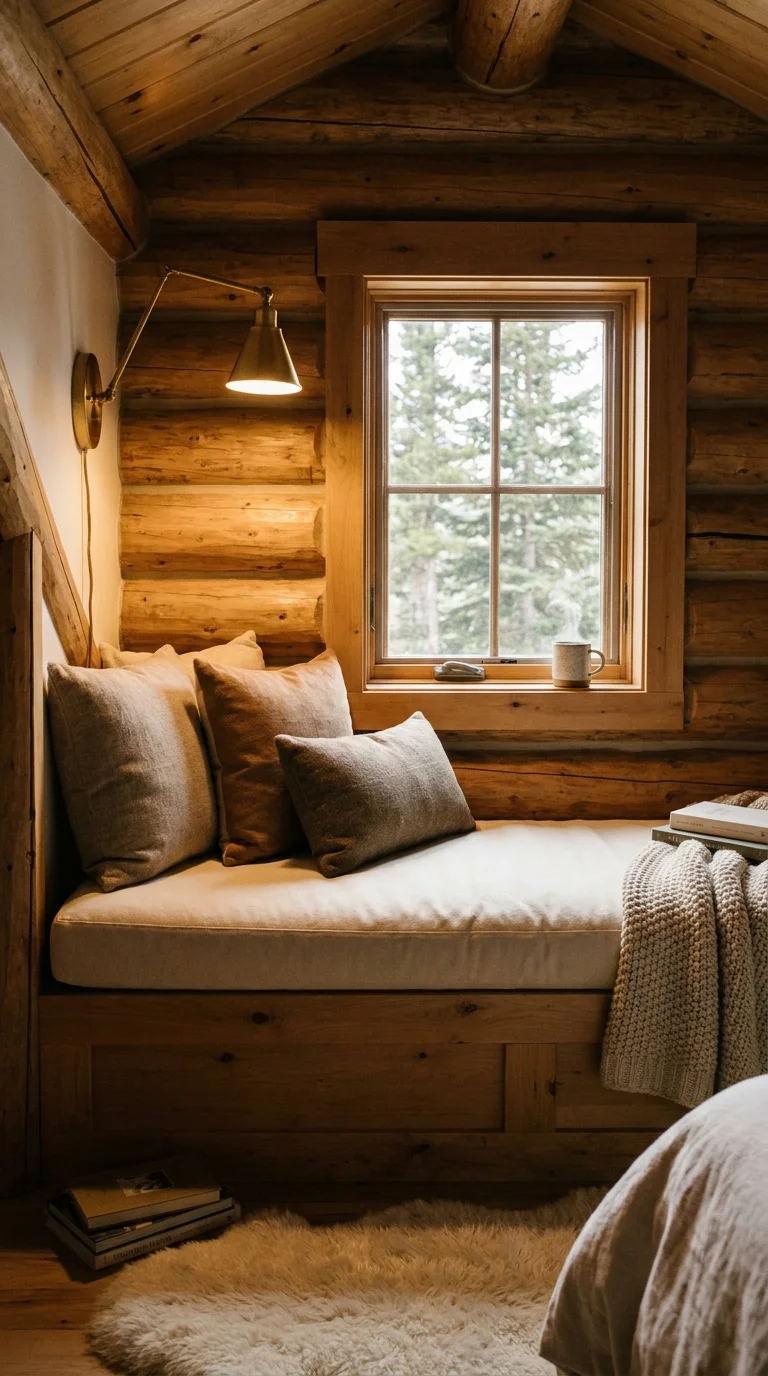
Every cabin bedroom has at least one awkward corner. Maybe it’s next to the window, maybe it’s under a sloped ceiling, maybe it’s just the space where stuff accumulates because nobody knows what else to do with it. That corner is secretly a reading nook waiting to happen.
In our main cabin bedroom, there’s a dormer window that juts out from the roofline. For two years, I had a plant stand there. Wasted. One weekend I built a low bench with a hinged lid (for extra blanket storage), added a 3-inch foam cushion wrapped in outdoor canvas fabric, stacked a few throw pillows against the wall, and added a small brass swing-arm wall sconce from Schoolhouse above it.
That corner now gets more use than the bed before noon. My partner reads there every morning with coffee. Guests take photos of it. And the whole thing cost maybe $180 in materials.
- Measure your corner carefully, including ceiling height if it’s a dormer — you want to be able to sit without hunching.
- Build a simple box frame from 3/4-inch plywood with a piano hinge lid. Sand and paint or stain to match your room.
- Cut 3-inch high-density foam to size — upholstery foam suppliers often sell offcuts cheaply. Wrap in canvas or an outdoor fabric for durability.
- Add a hardwired or plug-in swing-arm sconce at reading height. Schoolhouse Electric, Cedar & Moss, and McGee & Co all have great cabin-appropriate options.
- Stack 3–4 throw pillows in varying textures for a layered look. Combine linen, wool, and cotton for depth.
4: Edison Bulb & Lantern Lighting Overhaul — Mood Is Everything at Night
If I could go back and tell myself one thing when we first started decorating the cabin, it would be this: the lighting is the room. Not the furniture, not the textiles, not the paint color. The lighting.
Most cabin bedrooms I’ve visited have a single overhead fixture and maybe a couple of bedside lamps. That’s it. And at night, the room feels flat and a little sad, like a motel that tried and gave up. The fix isn’t complicated or expensive — it’s just about multiplying your light sources and making each one do something interesting.
Here’s what I run in our main cabin bedroom right now: a vintage-style ceiling pendant with a large carbon filament bulb (2200K — very warm), two swing-arm bedside sconces (hardwired into the wall — worth doing properly), a small table lamp in the reading corner, and two flameless pillar candles on the window ledge that flicker realistically. Total light sources: six. Total overhead fixtures: one. That’s the formula.
The flameless candle thing sounds cheesy until you try it. I use the Luminara brand — they use real wax and the flame movement algorithm is surprisingly convincing. In timer mode, they come on at dusk and go off at midnight. It costs nothing to run, and the effect at 9 p.m. in a cabin bedroom is legitimately beautiful.
5: Floor-to-Ceiling Plank Wall Feature — The One Thing That Changes Everything
If your cabin bedroom doesn’t have exposed log walls, the next best thing is a shiplap or board-and-batten feature wall. I was skeptical of this — it felt trendy rather than timeless — but after installing it on the wall behind our bed, I completely changed my mind. Done right, it looks like it was always there.
I used rough-sawn pine boards from the local lumber yard, left them with a very light whitewash (one part white paint, three parts water, wiped on then immediately wiped back off), and ran them vertically from floor to ceiling. The vertical orientation is important — it makes the ceiling feel taller, which matters in most cabin spaces.
The rough-sawn texture, not planed smooth, is key. You want to see the saw marks. You want it to feel like something that came from a real tree. Smooth, finished boards look fine, but they don’t feel like a cabin — they feel like a Pinterest bathroom.
- Use rough-sawn pine or cedar 1x4s or 1x6s — ask for rough-sawn specifically at the lumber yard.
- Let them acclimate inside for at least 48 hours before installing to prevent warping.
- Apply whitewash if desired: thin white paint 1:3 with water, brush on, wipe back with a rag within 30 seconds. Practice on a scrap board first.
- Install vertically with a 1/8-inch gap between boards using a spacer. Nail through the face into studs.
- Run boards to the ceiling and cap with simple 1×3 crown if you want a finished look — or leave raw for more rusticity.
6: The Vintage Trunk Storage Transformation — Character & Function at Once
One of the things I genuinely love about cabin bedrooms is how naturally they accept old things. A vintage steamer trunk at the foot of the bed doesn’t look out of place — it looks like it belongs. More than that, it solves one of the eternal cabin storage problems: extra blankets, spare pillows, off-season clothing.
I found a 1940s cedar-lined trunk at an estate sale for $65. It had a broken latch, some surface rust on the hardware, and a faint musty smell. Three weekends later — new leather straps from an Etsy seller in Vermont, hardware polished with Bar Keepers Friend, interior lined with fresh cedar boards from Home Depot — it’s the most commented-on piece of furniture in the room.
People ask if I inherited it. I didn’t. I just spent a few weekends caring about it.
If you can’t find a vintage trunk, new ones from companies like Pottery Barn or Restoration Hardware look decent, but they cost five to ten times more and will never have that quality of age. Put in the effort to find a real one. It’s worth it.
7: Nature-Inspired Textile Layering — When the Bed Becomes the Main Event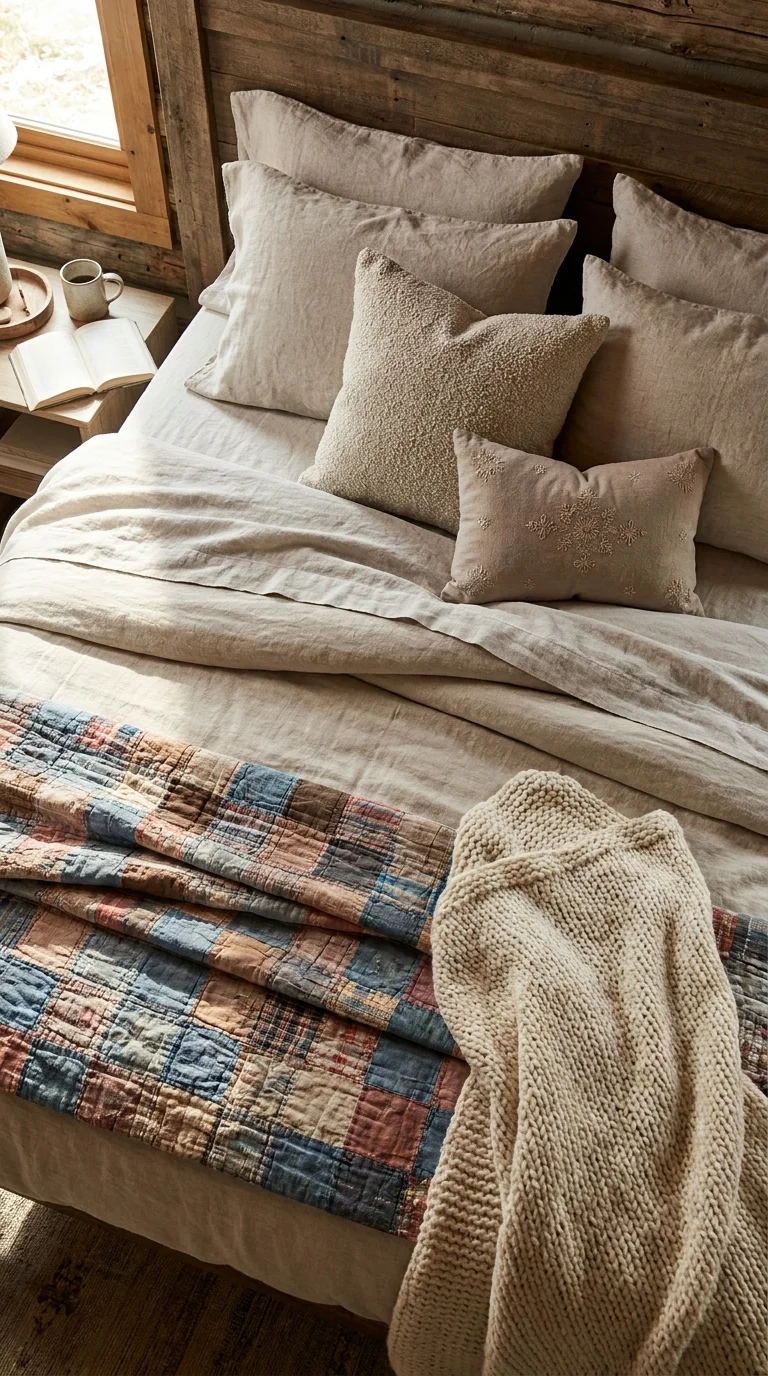
I used to think making a bed look good was one of those skills some people were born with, like parallel parking or knowing when fish is cooked. Then I spent a weekend at a small inn in Vermont — the kind with four rooms and a wood stove in the lobby — and I paid very close attention to what they were doing.
The answer wasn’t complicated. It was just layers and the right textures.
Here’s the exact formula I’ve been using ever since, adapted for a cabin setting. Start with a quality linen fitted sheet — not crisp white, something oatmeal or stone grey. Add a solid duvet in a neutral. Then add a quilt — a real one, ideally vintage or handmade — folded at the foot of the bed so it shows the quilting pattern. On top of that, one or two throw blankets. Then your pillows, mixed: sleeping pillows in linen cases plus two or three decorative pillows in different textures and scales.
- Base layer: fitted linen sheet in a neutral earthy tone. Stonewashed so it looks lived-in immediately.
- Middle layer: a duvet or comforter in an undyed or muted tone. Keep this simple.
- Statement layer: a vintage or artisan quilt, folded at the foot. Birddog Distributors and Ruby Lane have great vintage options. Local quilt fairs are even better.
- Drape layer: one chunky knit or wool throw draped casually — asymmetrically, not centered. This is important. Centered throws look staged; asymmetric throws look real.
- Pillows: three sleeping pillows in linen shams, plus two to three decorative pillows in mixed textures — velvet, bouclé, or embroidered cotton. Odd numbers always look better.
The thing nobody tells you about textile layering is that it looks best slightly imperfect. The throw should look like someone used it last night and tossed it back roughly. The duvet shouldn’t be hospital-cornered. A little texture, a little life. That’s what makes a cabin bedroom feel genuinely welcoming rather than staged for a catalog.
8: The Minimalist Log Cabin Refresh — When Less Actually Means More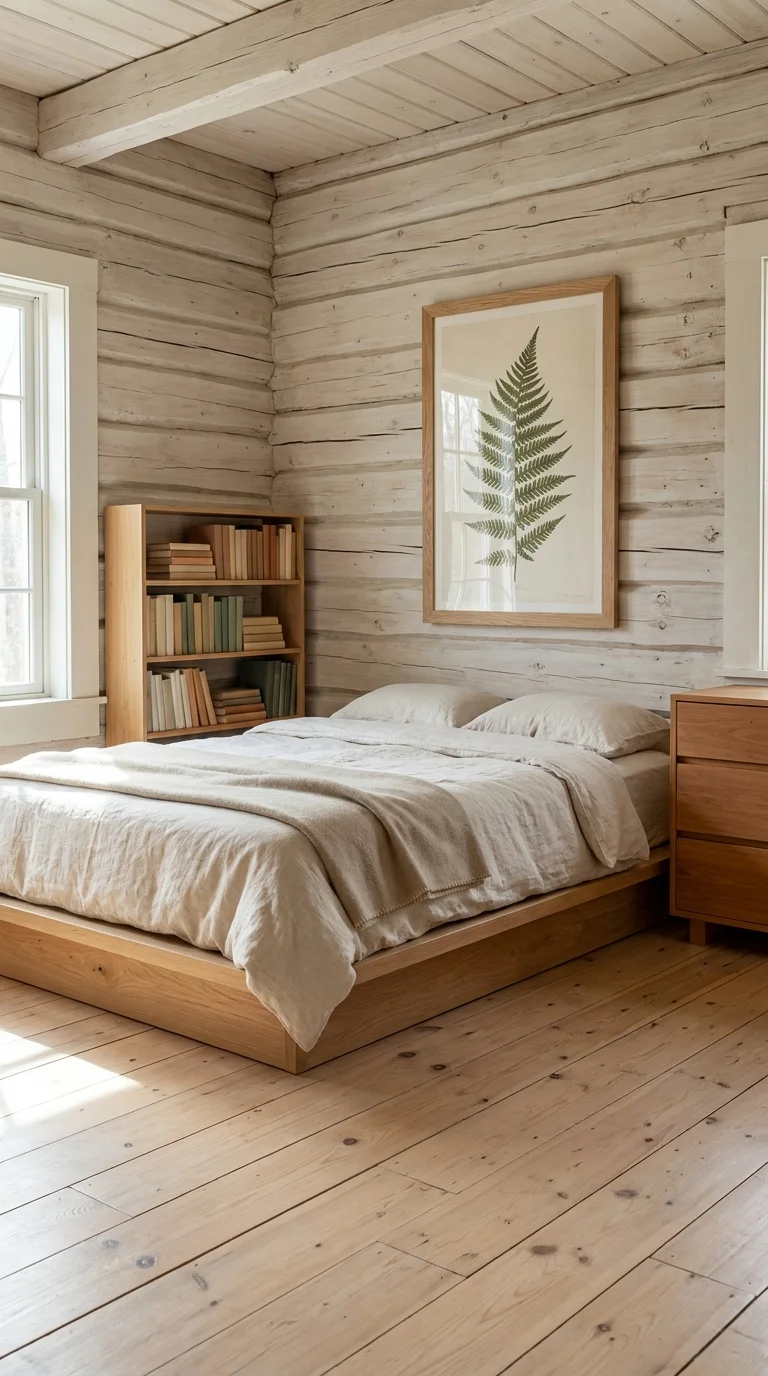
Not every cabin bedroom needs more stuff in it. Sometimes the most impressive makeover is a careful subtraction.
The cabin bedroom I tackled last spring was technically well-furnished — nice bed, good rug, decent lighting. But it felt cluttered. There were too many competing visual elements. A gallery wall of mismatched frames. A bookshelf stuffed with paperbacks and random decorative items. A television on a stand. Three different wood tones fighting each other.
The makeover was mostly removal. I took down the gallery wall entirely and replaced it with one large piece — a botanical illustration print from a local artist, framed simply in natural oak. I cleared the bookshelf to one-third capacity, keeping only a few meaningful objects and books organized by color. I removed the television entirely and replaced the stand with a single dresser in a consistent wood tone.
The room immediately felt twice as big and ten times more peaceful. Nobody noticed anything was gone. They just noticed the room felt better.
The minimalist log cabin approach works especially well when the architecture is strong — exposed beams, a stone fireplace, beautiful log walls. The cabin itself is the decoration. Your job is just not to compete with it.
The Mistakes That Cost Me the Most
Since we’re being honest, here are the most expensive lessons I’ve collected over the years. Hopefully, at least one of them saves you time, money, or a very awkward conversation with a contractor.
Tools & Resources That Actually Helped
In the spirit of actually useful information, here’s the short list of things I use consistently and genuinely recommend:
For planning the space: The Planner 5D app (free version is enough) lets you mock up a room in 3D before you move a single piece of furniture. I use it every time now. Saves enormous amounts of back strain and second-guessing.
For sourcing materials: EstateSales.net for vintage pieces, Facebook Marketplace for large furniture, Birddog Distributors for vintage textiles, and your local lumber yard (not the big box store) for character wood. The lumber yard is always cheaper for quality material once you establish a relationship.
For lighting: Schoolhouse Electric for high-quality sconces, Cedar & Moss for pendant options, and Luminara for flameless candles. Lutron Caséta for dimmers — they work with almost any fixture and are genuinely set-and-forget reliable.
For wood finishing: Rubio Monocoat for natural wood features (it’s pricey, but one coat does what three coats of other finishes do), Osmo Polyx for floors, and basic white paint thinned with water for any whitewashing you want to try.
Where to Start?
If you’ve made it this far and you’re staring at your own cabin bedroom wondering which of these eight directions to go, here’s my honest answer: start with the lighting. It’s the fastest return on investment, it costs the least, and it will immediately change how the space feels at the time of day when bedrooms actually matter — evening and night.
After that, tackle the bed. A layered, thoughtfully made bed in a well-lit room is genuinely 70% of the battle. Everything else is refinement.
Then keep going. The reading nook. The plank wall. The vintage trunk. The moody palette. These aren’t projects you have to do all at once — the best cabin bedrooms I’ve seen evolved over years, adding one thing at a time, each piece chosen with care.
That’s the real secret, honestly. It’s not a makeover. It’s a relationship with a space. And that kind of room — the one that grew slowly, that has stories in every corner — that’s the kind that genuinely impresses people. Not because it’s expensive. Because it’s loved.
Happy making. Don’t ruin any wool blankets.

Shahid Nawaz is a home and garden content writer at Garden Skillz with over 4 years of experience researching and writing about gardening, plant care, and DIY home improvement. He specializes in turning complex horticultural topics into practical, easy-to-follow guides for beginners and experienced growers alike. Shahid has written extensively on flowering plants, indoor greenery, and seasonal garden care.