The Day I Almost Gave Up on Orchids
I still remember standing in my kitchen, staring at my third dead Phalaenopsis in six months. The roots were mushy, the leaves were drooping like wet paper, and the last of the blooms had fallen off weeks ago. I’d bought it from IKEA on a whim, thinking orchids were just “fancy houseplants” that needed water and sunlight like everything else.
I was so wrong.
That dead orchid sat on my windowsill for two weeks while I sulked. I genuinely considered swearing off orchids forever and sticking to pothos, which, let’s be honest, is basically unkillable. But something pulled me back. Maybe it was the absurd beauty of those flowers, or the fact that I’d already spent close to $60 on orchids that year and had nothing to show for it.
So I started digging. YouTube rabbit holes, orchid forums, and a few Facebook groups full of people who are very passionate about their plants. And what I learned completely changed how I grow orchids. Two years later, I have fourteen orchids in my home, most of them are in active growth, several are blooming right now, and I’ve only lost two plants since I changed my approach.
Here are the ten habits that genuinely made the biggest difference. No fluff, no recycled generic advice — just what actually worked for a real person growing orchids in a regular apartment with no greenhouse, no humidity tent, and a pretty average budget.
1. Stop Watering on a Schedule — Water When the Plant Tells You To

This was the first thing I got completely wrong. I was watering my orchid every Sunday like clockwork. Didn’t matter what the roots looked like, didn’t matter how dry or wet the mix was. Sunday was watering day, and that was that.
Overwatering is the number one killer of orchids. Full stop.
Here’s what I do now: I look at the roots. If you have your orchid in a clear plastic nursery pot (which most Phalaenopsis come in), you can literally see the roots through the sides. Healthy, well-hydrated roots are green or light green. Roots that need water turn silvery-grey or white. It’s that simple.
I also stick my finger about an inch into the potting mix. If it still feels even slightly damp, I wait. If it’s bone dry and the roots are silvery, it’s time to water.
In summer, that usually means watering every 7–10 days. In winter, sometimes I go 14–16 days between waterings, especially when my heating dries out the air.
The key mindset shift: orchids would rather be slightly too dry than slightly too wet. Their roots need air as much as they need moisture. When you overwater, you suffocate the roots; they rot, and the plant slowly dies from the bottom up.
2. Use Lukewarm Water and Actually Soak the Pot
Cold tap water stressed my orchids more than I realized. Most orchids we grow indoors — Phalaenopsis, Dendrobiums, Oncidiums — come from tropical and subtropical environments. Blasting their roots with cold water is a small but consistent shock that slows growth over time.
I switched to letting water sit for a few minutes, or I mix a bit of warm water in, so it’s roughly room temperature. Some growers use filtered or rainwater, and I’ve tried both. My plants don’t seem dramatically different between filtered water and regular tap, honestly, as long as I let the tap water sit for 20–30 minutes first to let the chlorine off-gas.
What made the biggest visible difference, though, was how I watered. Instead of just pouring water on top and calling it done, I now soak the whole pot. I fill a bowl or sink with room-temperature water, drop the pot in (up to the rim), and let it soak for about 10–15 minutes. The bark mix or moss absorbs water deeply and evenly, and the roots get a proper drink.
After soaking, I let it drain completely. I mean completely — I leave it tilted in the sink for a few minutes so no water sits in the pot or crown. Water sitting in the crown of a Phalaenopsis is a fast ticket to crown rot.
3. Learn to Read Your Orchid’s Roots Like a Book
Once I started paying attention to the roots, it felt like the plant was talking to me. And honestly? It kind of is.
Silvery-white roots = thirsty, needs water. Bright green roots = just watered, happy. Dark green, soggy, mushy roots = root rot; you’ve been overwatering. Shriveled, flat, string-like roots = severely dehydrated or dead roots. White fuzzy stuff on roots = velamen (totally normal — that’s the outer layer of healthy orchid roots).
I spent a lot of time in the r/orchids subreddit in the beginning, posting photos and asking, “Are these roots okay?” It’s a surprisingly helpful community. After a while, I could identify root health on my own without needing to ask.
When I repot now, I always take a good look at the root system before putting the plant in fresh media. I trim any black, mushy, or hollow roots with sterile scissors (I wipe them with rubbing alcohol first). Leaving dead roots in the pot creates a breeding ground for bacteria and fungus.
4. Respect the Light Requirements — But Don’t Overthink Them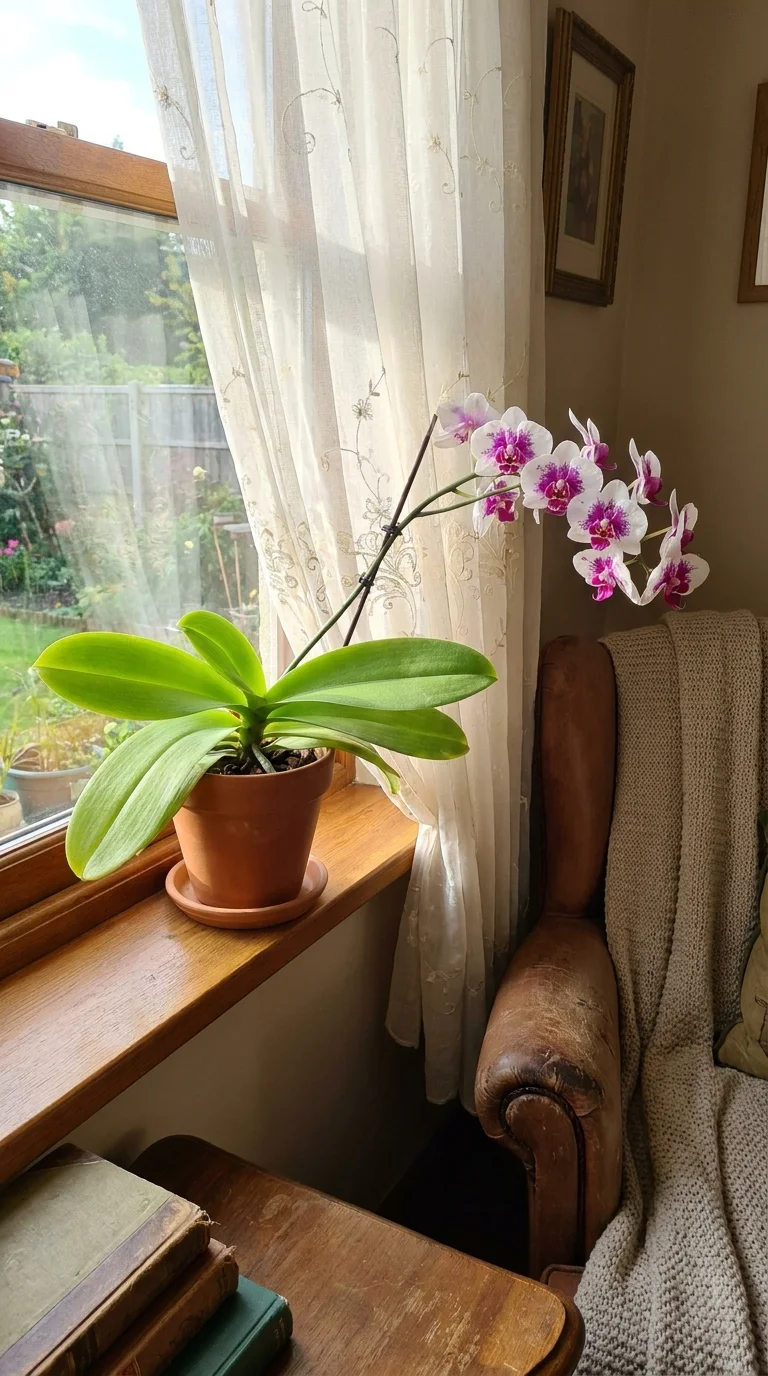
Orchids have a reputation for being fussy about light, and there’s some truth to that. But I found that the actual requirements are simpler than most articles make them sound.
For Phalaenopsis (the most common grocery store orchid with the wide, flat leaves), you want bright indirect light. My east-facing windowsill is perfect — it gets gentle morning sun and then indirect light for the rest of the day. South or west-facing windows work too, but you’ll need a sheer curtain to diffuse the direct afternoon sun, which can burn the leaves.
I had one orchid on a west-facing windowsill with no curtain. The leaves turned yellowish with reddish patches — that’s a sunburn. I moved it, the plant recovered, but it took a few months to really bounce back.
The rule of thumb I was taught: orchid leaves should be bright green, not dark green, and not yellow-green. Dark green leaves mean the plant isn’t getting enough light and is producing more chlorophyll to compensate. Yellow-green leaves often mean too much direct light. You’re aiming for that medium, healthy, bright green.
I use a basic light meter app on my phone called Lux Light Meter (free on both iOS and Android) to check light levels in different spots around my apartment. Phalaenopsis thrives around 10,000–15,000 lux of indirect light. Dendrobiums and Cattleyas want even more, sometimes up to 30,000 lux.
5. Temperature Fluctuation Is Not Your Enemy — It’s What Triggers Blooms
This one blew my mind when I first learned it.
I had a healthy Phalaenopsis that hadn’t bloomed in over a year. Lush leaves, good roots, clearly alive and growing — but no flower spike in sight. I did some research and discovered that Phalaenopsis needs a temperature drop at night to trigger blooming. They need a difference of about 10–15°F (or roughly 6–8°C) between day and night temperatures.
My apartment was climate-controlled year-round. The temperature rarely dropped at night. The orchid was comfortable, but it had no “signal” that told it to bloom.
In autumn, I started moving the orchid to a spot near the window at night. The temperature near the glass drops noticeably after sundown. Within about six weeks, I saw a tiny new spike emerging from between the leaves. I actually did a little dance in my kitchen.
Now I put most of my Phalaenopsis near cooler spots in autumn — usually September through November — to encourage blooming. It’s one of those things that sounds almost too simple, but it genuinely works.
6. Feed Weakly, Weekly (Or at Least Regularly)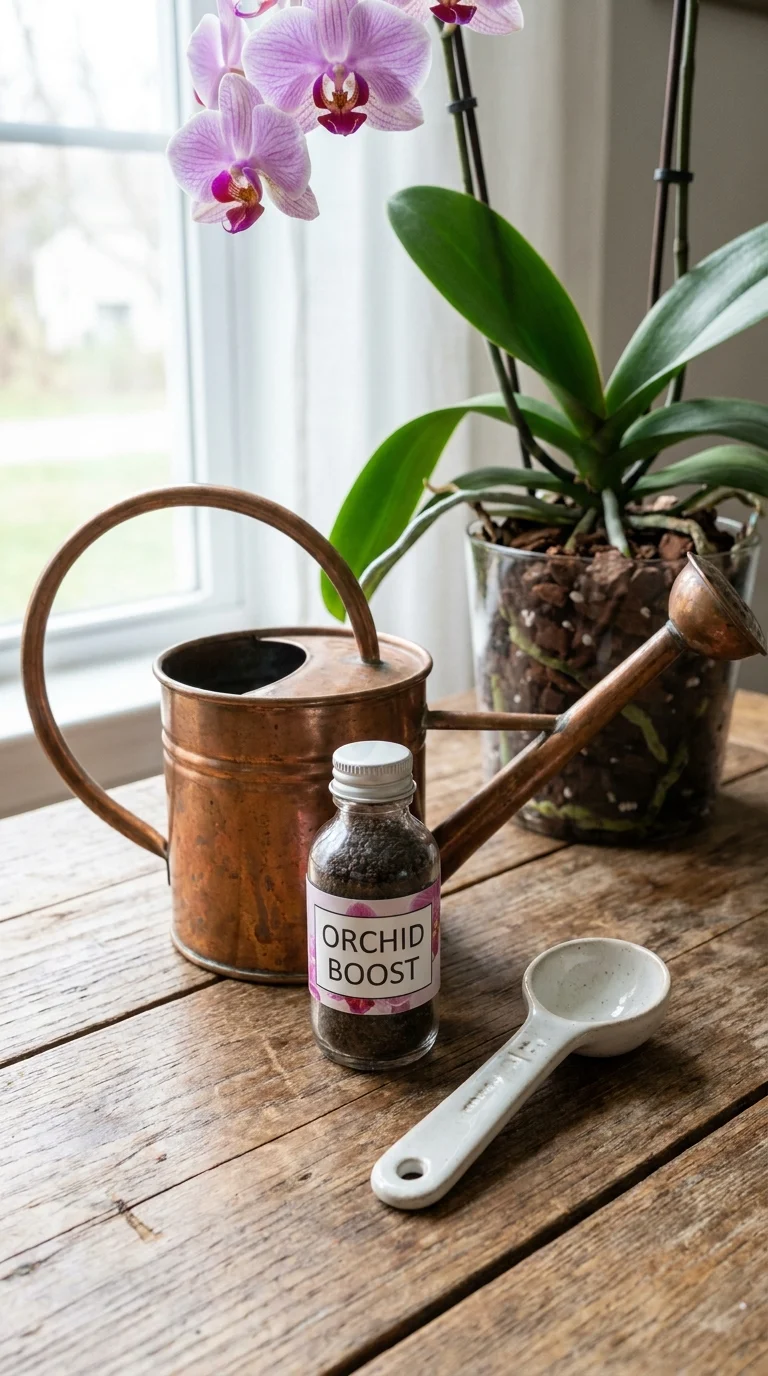
I didn’t fertilize my orchids for the first year I grew them. I figured the potting mix must have nutrients in it, or maybe orchids just didn’t need much. Both assumptions were wrong.
Orchid bark, which is the most common potting medium, breaks down slowly and doesn’t provide much in the way of nutrients. And while orchids aren’t heavy feeders like vegetables or flowering annuals, they do benefit from regular, diluted fertilizer during their active growing season.
The classic orchid fertilizer mantra is “weakly, weekly.” That means you use fertilizer at a quarter to half of the recommended strength, but you do it more often — once a week during spring and summer, and every two to three weeks in autumn and winter.
I use MSU Orchid Fertilizer (a well-regarded blend among serious growers) and also have a bottle of Dyna-Gro Grow that I alternate with. Both are designed for the low-nutrient, well-draining media that orchids need. You can find them on Amazon or specialty orchid nurseries online.
One important tip: don’t fertilize a dry orchid. I always water first, then come back the next day or a few hours later to fertilize. Fertilizing dry roots can burn them.
Also, once a month, I do a plain water flush — just water with no fertilizer — to wash out any salt buildup from the fertilizer. Salt accumulation in the pot causes root damage over time.
7. Report Before It’s an Emergency
Most people only repot when the orchid is clearly suffering — roots spilling everywhere, the mix completely broken down, the plant nearly falling out of the pot. I used to be one of those people.
Now I report every one to two years, proactively, rather than waiting for a crisis.
The potting mix breaks down over time. Bark decomposes, sphagnum moss can get compacted and stay wet too long, and both can harbor bacteria if left too long. Roots that have nowhere to go start dying off or growing in circles at the bottom of the pot.
The best time to repot is right after blooming ends — when the plant is entering a new growth phase. You’ll see new root tips (bright green tips on the root ends) or sometimes a new leaf starting to emerge. That’s the window to report.
Here’s how I do it:
- Remove the plant from its pot — sometimes I have to cut the pot if the roots have really latched on.
- Gently remove the old media from around the roots.
- Trim any dead, hollow, or mushy roots with sterile scissors.
- Soak the remaining healthy roots in water for about 20 minutes to hydrate them.
- Place the plant in a clear plastic pot that’s just big enough to hold the roots without too much space.
- Pack fresh orchid bark (medium grade for Phalaenopsis) around the roots, pressing it in gently.
- Don’t water for about a week after repotting — any small root cuts need to callus over first to prevent rot.
I buy my bark mix from rePotme, which ships online. They have pre-blended mixes for different types of orchids, and for a beginner, the ready-made mixes take a lot of guesswork out of the equation.
8. Humidity Matters More Than Most People Realize
Most homes sit at about 30–50% relative humidity. Orchids generally prefer 50–70%. That gap is bigger than it sounds when you’re in a dry climate, running heat in winter, or living in an air-conditioned apartment.
Low humidity makes leaves look slightly wrinkled, buds can drop before opening (the dreaded “bud blast”), and roots dry out faster than they should.
I don’t have a humidity tent or a climate-controlled growing setup. What I do instead:
Group my orchids together. Plants release moisture through their leaves (transpiration), so a cluster of plants creates a more humid microclimate around them. It actually works — my indoor hygrometer reads higher next to my plant cluster than across the room.
Use a pebble tray. I fill a shallow tray with pebbles, add water to just below the tops of the pebbles, and set the orchid pots on top. As the water evaporates, it raises the local humidity around the plants. The pots sit on the pebbles, not in the water — you don’t want the roots touching standing water.
Run a cool-mist humidifier in winter. I have a small Levoit humidifier that I run nearby during the winter months when my heating really dries out the air. It’s made a noticeable difference — fewer bud blasts, healthier leaves, less shriveling on the roots between waterings.
I check humidity with a cheap AcuRite digital hygrometer I have sitting near my plant shelf. It costs about $10 on Amazon and has been surprisingly accurate.
9. Air Circulation Is Part of Orchid Care (And Most People Skip It)
This one took me a long time to learn, and it made a bigger difference than I expected.
In the wild, most orchids grow on trees or rocky outcrops where they’re exposed to air movement pretty much constantly. Their roots need air to stay healthy, and good air circulation also helps prevent fungal and bacterial problems that thrive in stagnant, humid conditions.
In a home, especially if your orchids are in a corner or against a wall, air circulation can be really poor.
I have a small oscillating USB fan that I run on low near my orchid shelf for a few hours every day. It’s barely noticeable in terms of noise, but it keeps the air moving, dries out the surface of the bark a bit faster between waterings (which is a good thing), and has noticeably reduced the fungal spots I was getting on leaves during humid summer months.
Just don’t point a strong fan directly at the plants — you want gentle, indirect air movement, not a wind tunnel.
10. Learn Your Orchid’s Rest Cycle and Respect It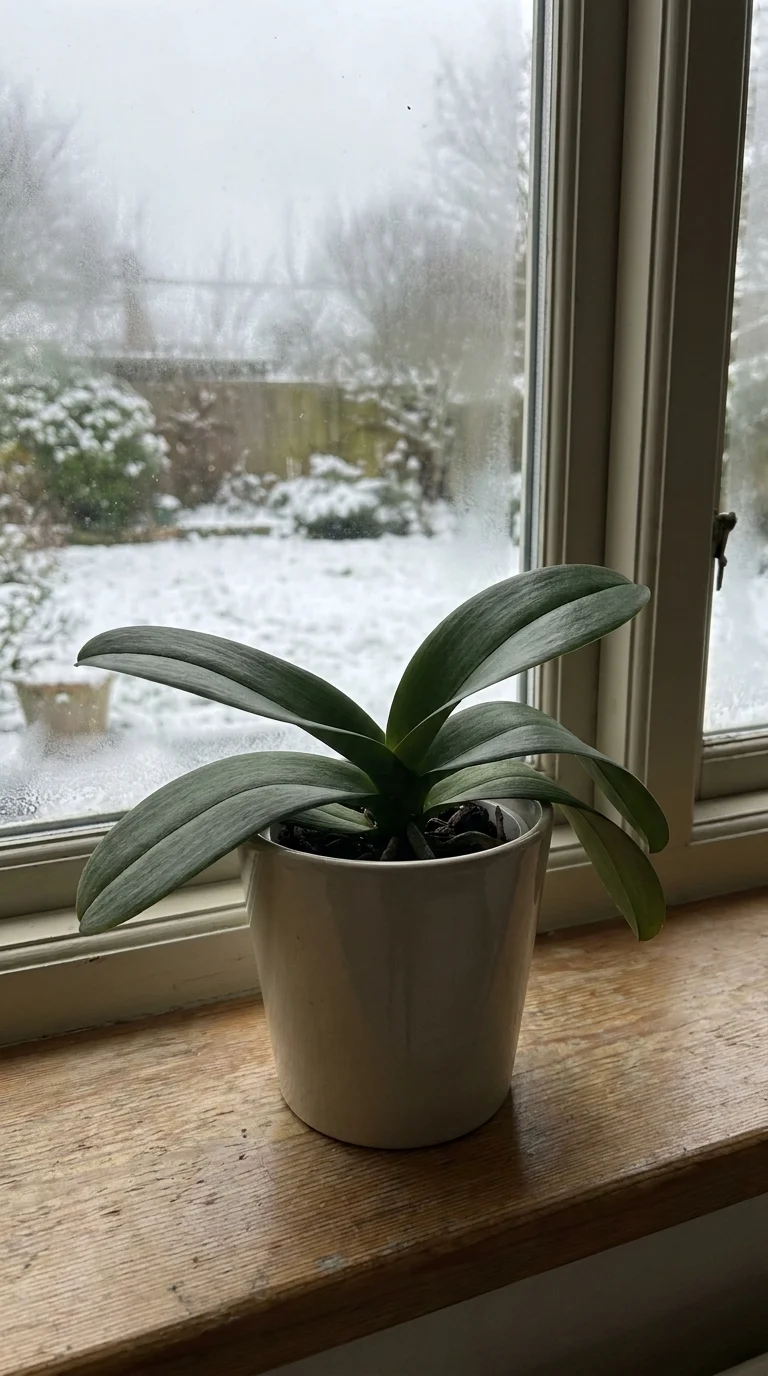
This is probably the most underappreciated habit on this whole list, and it took me the longest to understand.
Orchids aren’t perpetual-growth machines. They have active growth phases and rest phases, and trying to force growth during a rest period just stresses the plant out.
For most Phalaenopsis, the cycle looks something like this:
- Spring/Summer: Active root and leaf growth. This is when you fertilize most, water more frequently, and the plant is hungry for light.
- Autumn: Growth slows. Cooler nights start to trigger a spike.
- Winter: Often in bloom (if you triggered a spike in autumn). Feeding slows, watering slows.
- After bloom: A rest period where the plant doesn’t do much visible growing. This is normal. This is not death.
I used to panic during rest periods. Nothing was growing, no new leaves, no new roots. I’d fertilize more, water more, try to “wake it up.” All of that just stresses a resting plant.
Now I let them rest. I cut back on fertilizer, water a little less frequently, and just keep up with basic care. Within a few weeks, I usually see a tiny new root tip or the beginning of a new leaf, and the cycle starts again.
Tracking this cycle in a notes app (I just use Apple Notes, nothing fancy) helped me stop panicking. I write down when I repotted, when I saw the last flower, and when I started seeing new growth. After a year of notes, the cycles become completely predictable.
The Mistakes I Still See New Orchid Growers Make
Before I wrap up, I want to flag a few things I see people get wrong constantly, because I made almost all of these mistakes myself:
Decorative pots without drainage. Those pretty ceramic orchid pots with no holes look amazing, but they’re death traps. Either use them as cachepots (put your clear plastic pot inside the decorative one, remove it to water, drain completely before putting back) or drill a drainage hole.
Keeping the plant in moss when it arrived, soaking wet. Many grocery store orchids come packaged in wet sphagnum moss that stays wet for way too long. When I get a new orchid, I often repot it into bark within the first few weeks to get control of the moisture level.
Cutting the flower spike after blooming. Some people do this immediately. But with Phalaenopsis, if the spike is still green after flowering, you can cut it back to a node and sometimes get a second flush of blooms from that same spike. I’ve gotten second and even third rounds of flowers this way. Only cut the spike down to the base once it has fully yellowed and dried out.
Ignoring scale insects. These are small, flat, brown bumps on leaves and stems that are actually insects in disguise. I didn’t recognize them for months and watched one orchid slowly decline before I figured out what was happening. If you see waxy brown bumps that don’t wipe off easily — that’s scale. Treat with neem oil or rubbing alcohol on a cotton swab.
What Lush Growth Really Looks Like (And Realistic Expectations)?
I want to be honest with you about something: orchids grow slowly. Really slowly, compared to most houseplants.
A new leaf on a Phalaenopsis might take 8–12 weeks to fully develop. A new root tip might grow an inch a month if you’re lucky. A flower spike takes two to three months from when it first appears to when the flowers open.
Lush growth doesn’t mean your orchid is exploding with new leaves every few weeks. It means the leaves are firm and bright green, the roots are plump and active, there are no yellowing leaves or mushy spots, and the plant blooms reliably once a year (or more, if you’ve nailed the temperature drop trick).
It means the plant is thriving, not just surviving.
That shift in expectations changed everything for me. I stopped comparing my orchids to the perfectly curated photos on Instagram, stopped feeling like something was wrong when the plant sat quietly for a few weeks, and started actually appreciating the subtle signs of health and progress.
One Last Thing
If you’re just starting and feeling overwhelmed, don’t try to implement all ten of these habits at once. Pick the two or three that address your biggest current problems and start there.
If your orchid keeps dying, it’s probably overwatering. Start with habit one.
If your orchid is healthy but never blooms, look at temperature fluctuation (habit five) and light (habit four).
If your orchid looks fine but just stagnant, think about fertilizer (habit six) and air circulation (habit nine).
Orchids are incredibly rewarding once you understand how they actually want to live. They’re not fussy or difficult — they’re just different from most plants we’re used to. Once you shift your care approach to match their natural needs, the whole thing clicks into place, and you’ll wonder why you ever struggled.
And if you’re standing in your kitchen right now staring at a sad, limp orchid — trust me, I’ve been there. It’s not hopeless. Work through this list, make some adjustments, and give the plant time.
Orchids are more resilient than they look. So are we.
Happy growing.

Shahid Nawaz is a home and garden content writer at Garden Skillz with over 4 years of experience researching and writing about gardening, plant care, and DIY home improvement. He specializes in turning complex horticultural topics into practical, easy-to-follow guides for beginners and experienced growers alike. Shahid has written extensively on flowering plants, indoor greenery, and seasonal garden care.