Last July, I made an impulse buy that completely changed our backyard — and honestly, saved our sanity.
It was one of those brutal summer weeks where the AC couldn’t keep up, the kids were climbing the walls, and I found myself googling “how to survive summer with no pool” at 11 PM. My husband had been suggesting we get an Intex pool for two summers already, and I kept pushing it off, thinking it would look cheap or become a headache to maintain. Then our neighbor — a no-nonsense woman who does not spend money on things that don’t work — showed up at a birthday party raving about her 16-foot Intex frame pool. She said she’d had it for three summers, still going strong.
I was sold the next morning.
What I didn’t expect was how much there was to figure out after buying it. Just setting it up was a whole adventure. Then came questions like: Where do I put it? How do I make it look nice? How do I stop the kids from turning it into a swamp? What accessories are actually worth buying?
Over the past few summers, I’ve tried a lot of things. Some worked beautifully. Some were a waste of money. A few were honestly dumb mistakes I made, so you don’t have to.
This article is everything I’ve learned — 13 smart Intex pool ideas that will help you get the most out of your pool this summer. Whether you’re just setting one up or you’ve had yours for a year and want to level it up, there’s something here for you.
1. Pick the Right Spot Before You Even Unbox It

I cannot stress this enough: location is everything.
When we first set ours up, we put it in the first open area we found — a slightly shaded corner near the back fence. Sounded fine. It was not fine. The ground wasn’t completely level, and by week two, the water was visibly leaning toward one side. We had to drain it, re-level the ground, and start over. That was a full day of work in 95-degree heat.
Here’s what I wish I’d done first: spend 20 minutes with a long level tool (or even just a straight 2×4 and a cheap level from the hardware store), checking multiple points across the area. The ground needs to be level within an inch — Intex actually recommends no more than 1 inch of deviation. More than that and you’ll stress the walls, risk a blowout, and shorten the pool’s life.
Also think about:
- Sun exposure. More sun = warmer water naturally. If you want to swim most of the day, don’t put it under a big tree.
- Drainage. Where will the water go when you backwash or drain? Make sure it’s not going straight into your foundation or a neighbor’s yard.
- Distance from the house. You want the hose to reach, and you don’t want the water to constantly splash on your siding.
- What’s underneath? Roots and rocks can slowly damage the pool liner. Clear them before setup.
We eventually moved our pool to a sunnier, more open spot in the backyard and put down a layer of sand first. Night and day difference.
2. Use a Ground Cloth — And Then Add a Foam Layer
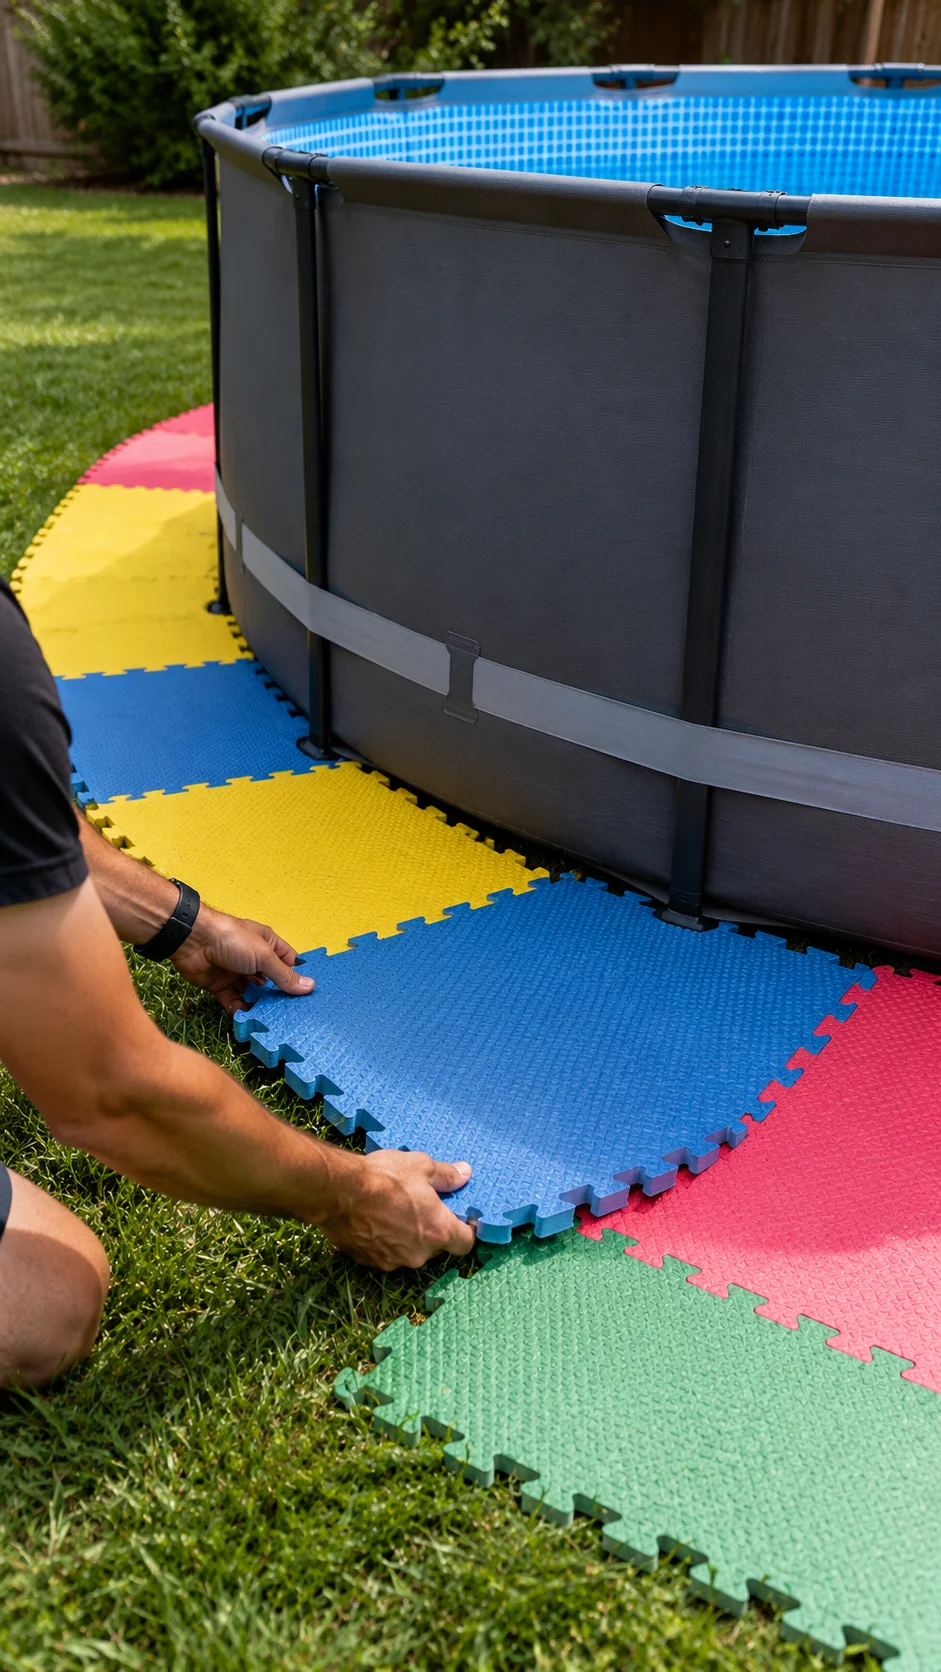
Intex sells its own ground cloth, and yes, it works. But here’s a better setup that took us two summers to figure out.
First, lay the Intex ground cloth (or a heavy-duty tarp cut to size). Then, on top of that, lay interlocking foam floor tiles — the kind sold for garages or kids’ play areas. You can get a pack of 24 or 36 tiles on Amazon for around $30–$50, depending on thickness.
Why does this matter? A few reasons:
- It provides a cushioned, comfortable surface underfoot so the pool floor doesn’t feel hard.
- It adds an extra layer of protection between the ground and the vinyl liner.
- It helps prevent small rocks or imperfections from slowly wearing through your liner.
When I told my neighbor about this, she said she’d been doing it for years and hadn’t had a single liner puncture. Meanwhile, another friend who skipped the ground protection had a slow leak by the end of her first summer. Coincidence? Maybe. But the foam tiles are cheap insurance.
One tip: cut the tiles to fit inside the pool’s footprint, not the entire tarp area. You want the tiles centered under the pool, not sticking out from underneath where they can shift.
3. Set Up a Simple Poolside Station

Once we had the pool up and running, we quickly realized there was no good place to put anything. Towels were ending up on the grass, sunscreen was sitting in the dirt, and someone was always running inside, dripping water to grab something they forgot.
We solved this with a dedicated poolside station. Nothing fancy — we used a freestanding outdoor shelving unit from Home Depot (about $40) with a small bin for pool toys, a hook bar for towels, and a waterproof basket for sunscreen and goggles.
If you want to go a step further, add:
- A small outdoor side table next to the pool’s ladder for drinks
- A large hooks panel on your fence for towels (keeps them off the ground)
- A footbath tub — just a shallow plastic container filled with water near the entry point so people rinse their feet before getting in. This one thing cut down our pool cleaning time significantly.
The footbath trick sounds minor but it genuinely makes a huge difference. Grass, dirt, and mulch are the #1 culprits for cloudy pool water in small backyard setups.
4. Upgrade Your Filtration — Seriously

The pump that comes with most Intex pools is fine for basic filtration, but if you’re using your pool regularly with multiple people, especially kids, it’s going to struggle.
We upgraded to the Intex Krystal Clear Sand Filter Pump after our second summer. It’s more powerful, easier to maintain, and the sand filtration does a noticeably better job than the basic cartridge filters. Yes, it costs more upfront — usually $100–$150 — but it saves money over time because you’re not buying replacement cartridges constantly.
With the basic filter, we were replacing cartridges every 1–2 weeks. That adds up fast.
If you don’t want to go to sand filtration, at minimum, get a few extra replacement cartridges so you can swap and rinse without downtime. Running your filter on a dirty cartridge is one of the fastest ways to end up with green water.
Also: run your filter longer than you think you need to. Most Intex guides suggest 8 hours a day. In hot weather with heavy use, we run ours 10–12 hours, and the water stays much clearer.
5. Create a Privacy Screen Around the Pool

One thing that made a big difference in how much we actually used the pool was adding some privacy. Our original setup felt very exposed — neighbors could see everything, and it just didn’t feel relaxing.
We added a couple of bamboo roll fencing panels (available at most garden centers and Amazon for $15–$25 each) along the fence line and attached them with zip ties. Added some tall outdoor plants in pots — ornamental grasses, dwarf banana trees, and a few potted palms — around the corners.
The result looked surprisingly intentional and resort-like. It also blocked wind, which helps keep debris out of the pool.
If you have more budget, outdoor privacy screens and pergola canopy panels can take it to the next level. But honestly, the $60 bamboo fencing transformation was dramatic enough that I’ve recommended it to everyone.
6. Try a Solar Pool Cover — It’s Worth Every Penny
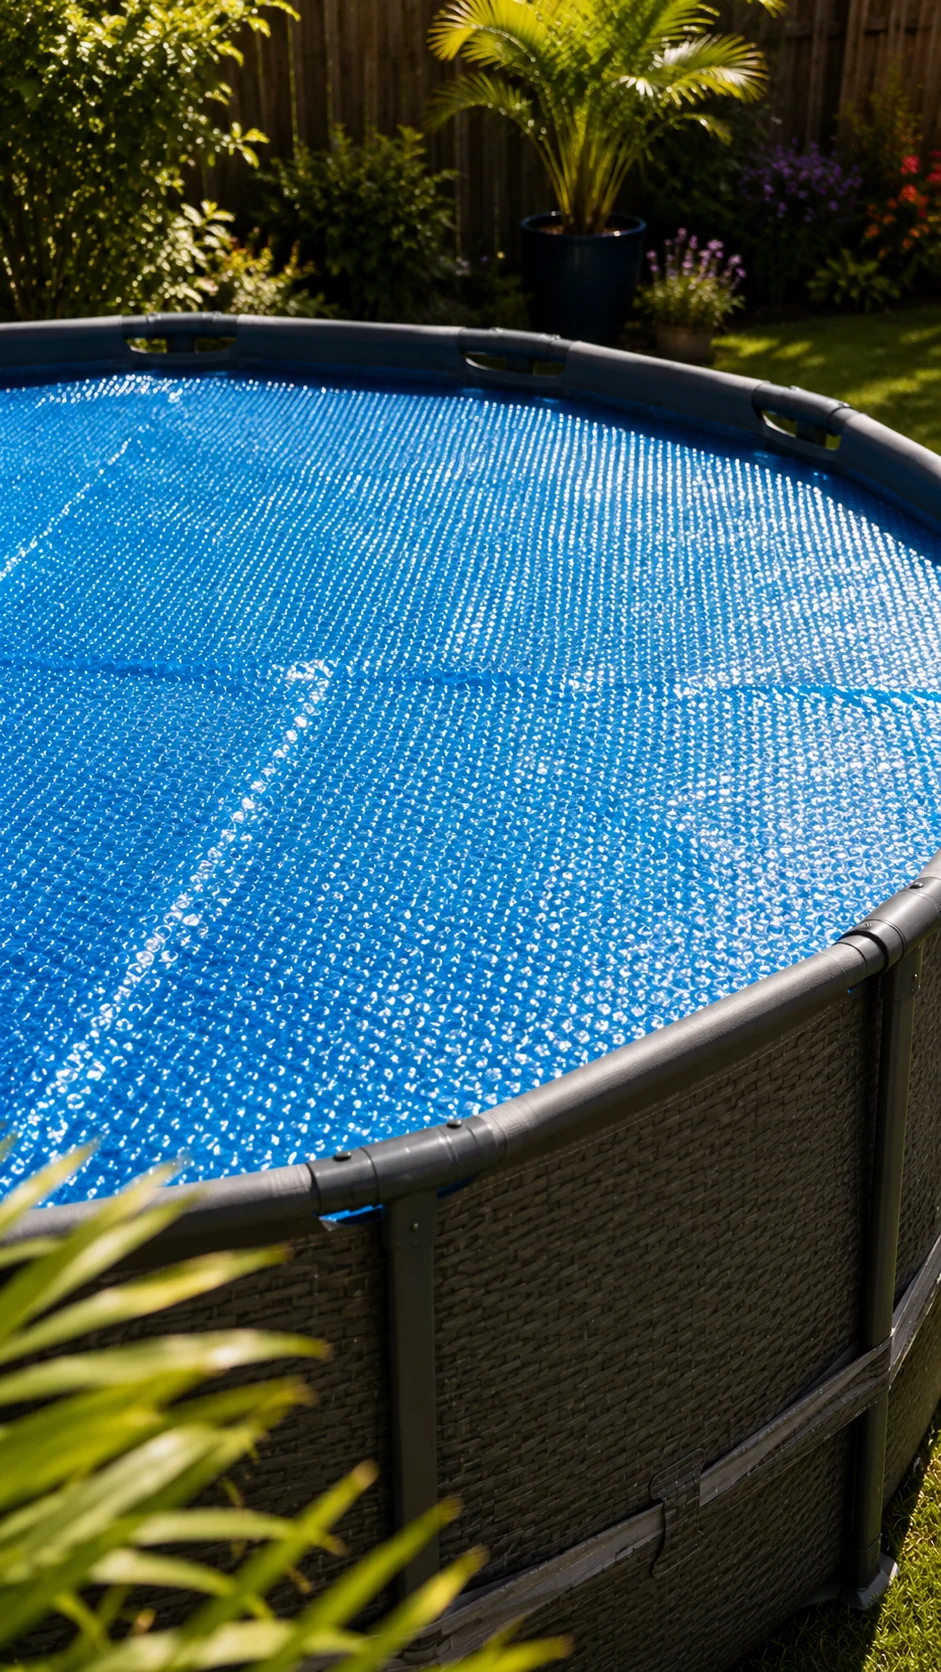
Before we got a solar cover, our Intex pool would lose water to evaporation faster than I expected — like 2–3 inches per week in peak summer — and the water temperature dropped overnight enough to make morning swims uncomfortable.
A solar pool cover (sometimes called a solar blanket) sits on top of the water and does two things: it reduces evaporation and uses the sun’s heat to warm the water. The little bubble side goes down, facing the water.
We got one sized to our pool from Walmart — about $25 — and honestly, I was skeptical. But within a few days, we noticed the water staying warmer into the evening, and we were refilling the pool less. In full sun, a solar cover can raise water temperature by 10–15°F. That’s significant.
One thing to know: you have to cut it to fit your pool shape. For round Intex pools, it’s not a precise cut — just get it close. Use scissors and don’t stress about it being perfect.
Take it off when people are swimming, obviously. And fold it properly (accordion-style works well) so it doesn’t become a trip hazard.
7. Maintain a Simple Chemical Routine
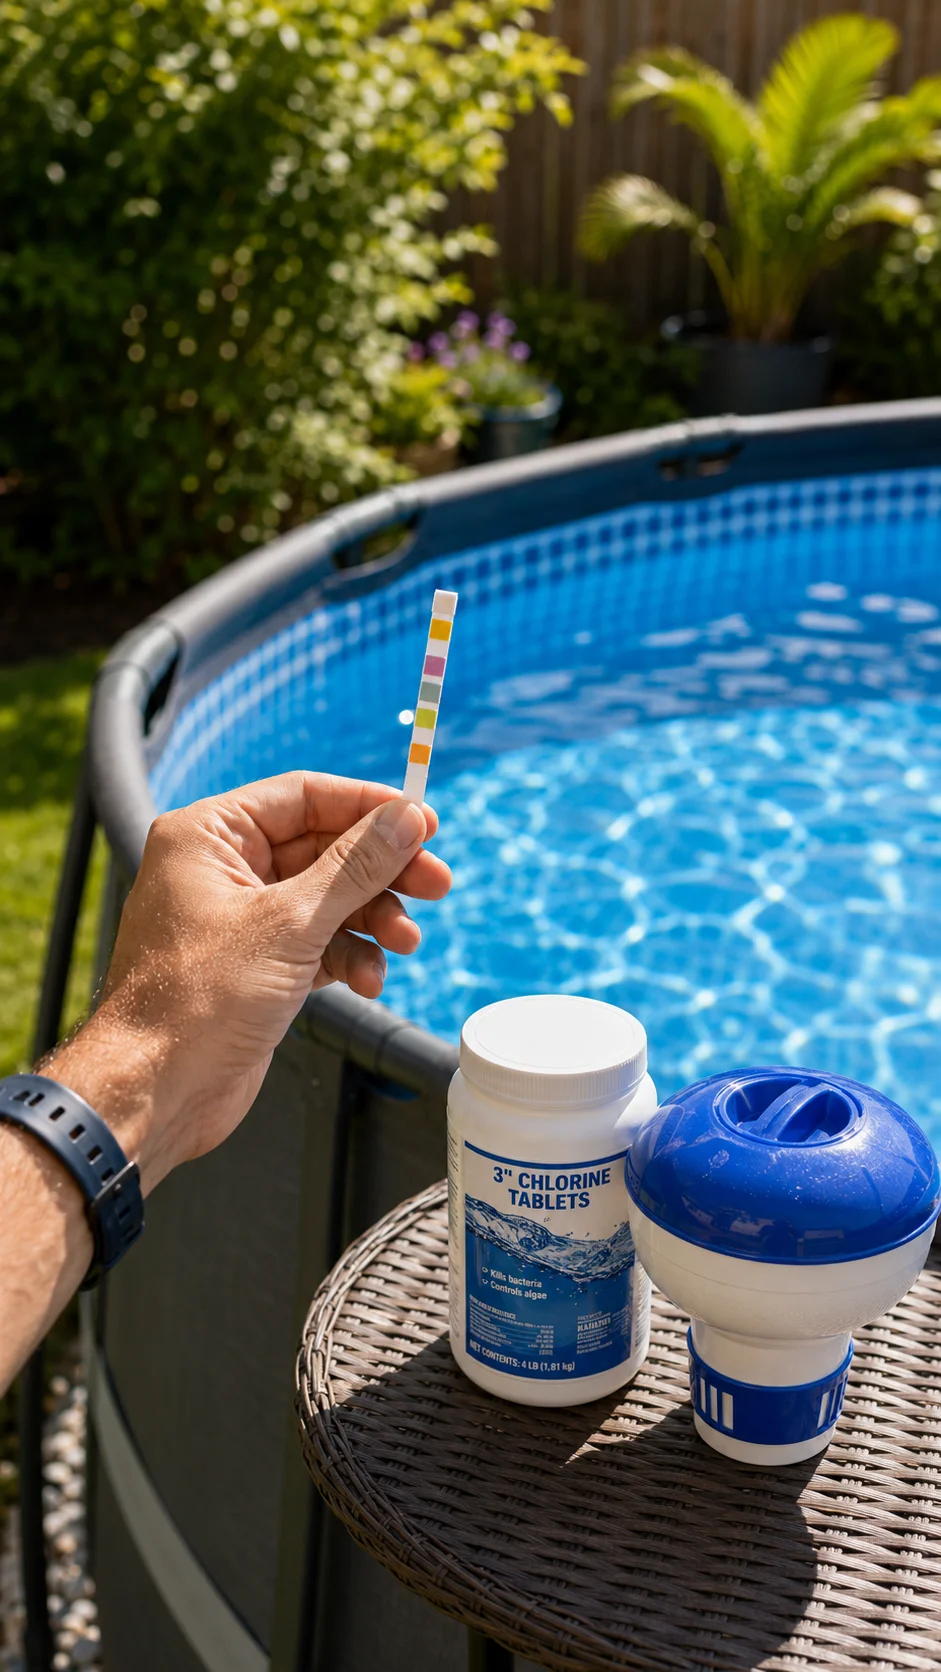
This is where a lot of first-time Intex pool owners get frustrated. Either they overthink it and spend a fortune on chemicals, or they underthink it and end up with green swamp water.
Here’s the simple routine that worked for us:
Every 2–3 days:
- Test the water with simple test strips (we use the Intex brand or AquaChek, both work well)
- Adjust chlorine if needed using the Intex floating chlorine dispenser and 1-inch tablets
- Check pH — it should stay between 7.2 and 7.6
Once a week:
- Add a shock treatment (chlorine shock or non-chlorine shock)
- Run the filter for a full 12 hours after shocking
- Brush the sides and bottom if you see any algae starting to form
Every two weeks:
- Add an algaecide as a preventive measure
The test strips are the most important habit. They take 30 seconds and tell you everything. Ignoring them for a week is usually what causes problems.
The single biggest mistake I made our first summer was not testing after heavy rain. Rainwater throws off the pH balance, and if you don’t re-adjust, algae can take hold within 48 hours. I learned this the hard way with a pool that turned green within three days of a big storm.
8. Add Lights for Evening Swims

This was a game-changer idea we got from our kids, and they were completely right.
We added an Intex floating LED light — it’s a magnetic light that attaches to the inside of the pool and changes colors. It costs around $15–$20. The transformation for evening swims was immediate. What used to feel like “we should get out now, it’s getting dark” became “can we stay in just a little longer?”
Some families go bigger with this. There are submersible LED pool lights on Amazon that clip to the wall and have remote controls with multiple color settings — these run $20–$40 and look genuinely stunning at night.
If you want to go all-out, add some string lights along the fence or pergola around the pool area. That combination of in-pool LED lights and overhead string lights creates an ambiance that feels like way more than an above-ground backyard pool.
Our neighbors actually walked over one evening to ask what we’d done because it looked so inviting from the street.
9. Set Up a DIY Splash Pad for Toddlers Next to the Pool
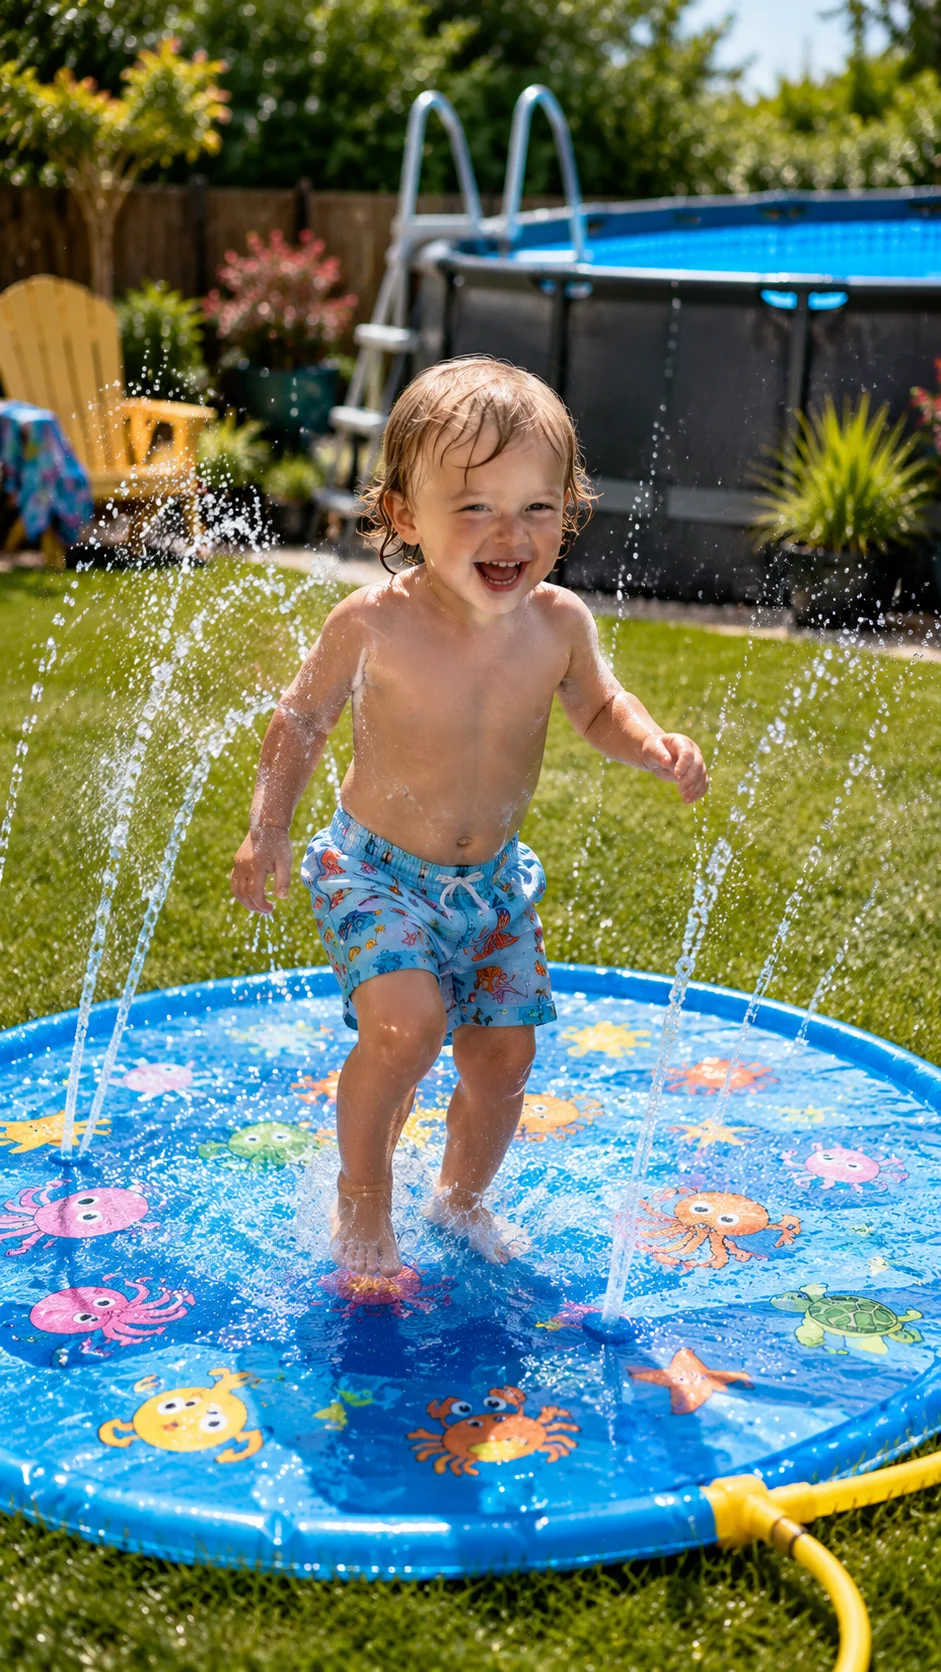
If you have little ones who are too young for the main pool but want to be part of the action, this idea is a lifesaver.
We set up a small Intex Splash Pad mat next to the pool for our youngest (she was 2 at the time). It hooks up to the hose and has sprinklers built in. She could play in that while the older kids used the big pool, and everyone was happy.
If you don’t want to buy a splash pad, a DIY version works too: lay a tarp on the grass, poke small holes in a regular garden hose, and run it back and forth across the tarp. Secure the hose with garden stakes and turn the water on low. Toddlers think this is the greatest thing ever, and it costs essentially nothing.
This also doubles as a great way for kids to rinse off before getting into the main pool, which (as mentioned earlier) keeps the water much cleaner.
10. Build a Simple Pool Ladder Platform

This one came from my husband who got tired of the Intex ladder sinking into the soft ground after rain.
The legs of the standard Intex ladder would sink into the lawn, making it wobbly and slightly unsafe. His fix: build a simple platform out of two 12-inch patio pavers placed under each leg. Took about 10 minutes and cost less than $5 at the hardware store.
If you want something more permanent-looking, you can build a small wooden platform (a 2×4 frame with pressure-treated plywood on top) that the ladder rests on. Paint it to match your outdoor furniture. It looks intentional, it’s stable, and it elevates the whole setup aesthetically.
Some families add a non-slip bath mat over the platform step for extra safety. Good idea, especially for kids running and jumping.
11. Use a Tennis Ball Trick to Keep Water Clear

Okay, this one sounds weird, but it genuinely works.
Throw a couple of clean tennis balls into your pool. The felt on the tennis ball absorbs body oils, sunscreen, and other oily residue that would otherwise build up on the water surface and cloud the water.
We started doing this and noticed a visible difference in water clarity within a few days. The balls will turn yellow or brownish as they absorb the oils — just wash them out with dish soap and reuse, or replace them every few weeks. A pack of tennis balls is $5.
It sounds like a hack you’d find on a dubious Pinterest board, but pool maintenance enthusiasts have been recommending this trick for years. It’s not magic — you still need to maintain your chemicals — but it’s a simple supplement that actually helps.
12. Create a Dedicated Towel Drying Zone

One of the small but constant annoyances of having a backyard pool is wet towels everywhere. On the chairs, on the fence, on the grass, draped over the pool edge (please don’t do this — it lets debris fall in).
We built a simple towel station using a free-standing coat rack we found at Ikea for $25. It lives right next to the pool, has 8 hooks, and holds everyone’s towels. We sealed it with outdoor-rated clear coat to protect it from moisture.
If you have a fence, wall-mounted towel hooks are even simpler. You can find weatherproof towel hooks at any hardware store for a few dollars each.
Having a designated spot sounds small, but it keeps the pool area looking organized and means towels are always within reach. No more dripping through the house.
13. Plan for Winterization Early (So You Don’t Ruin Your Pool)
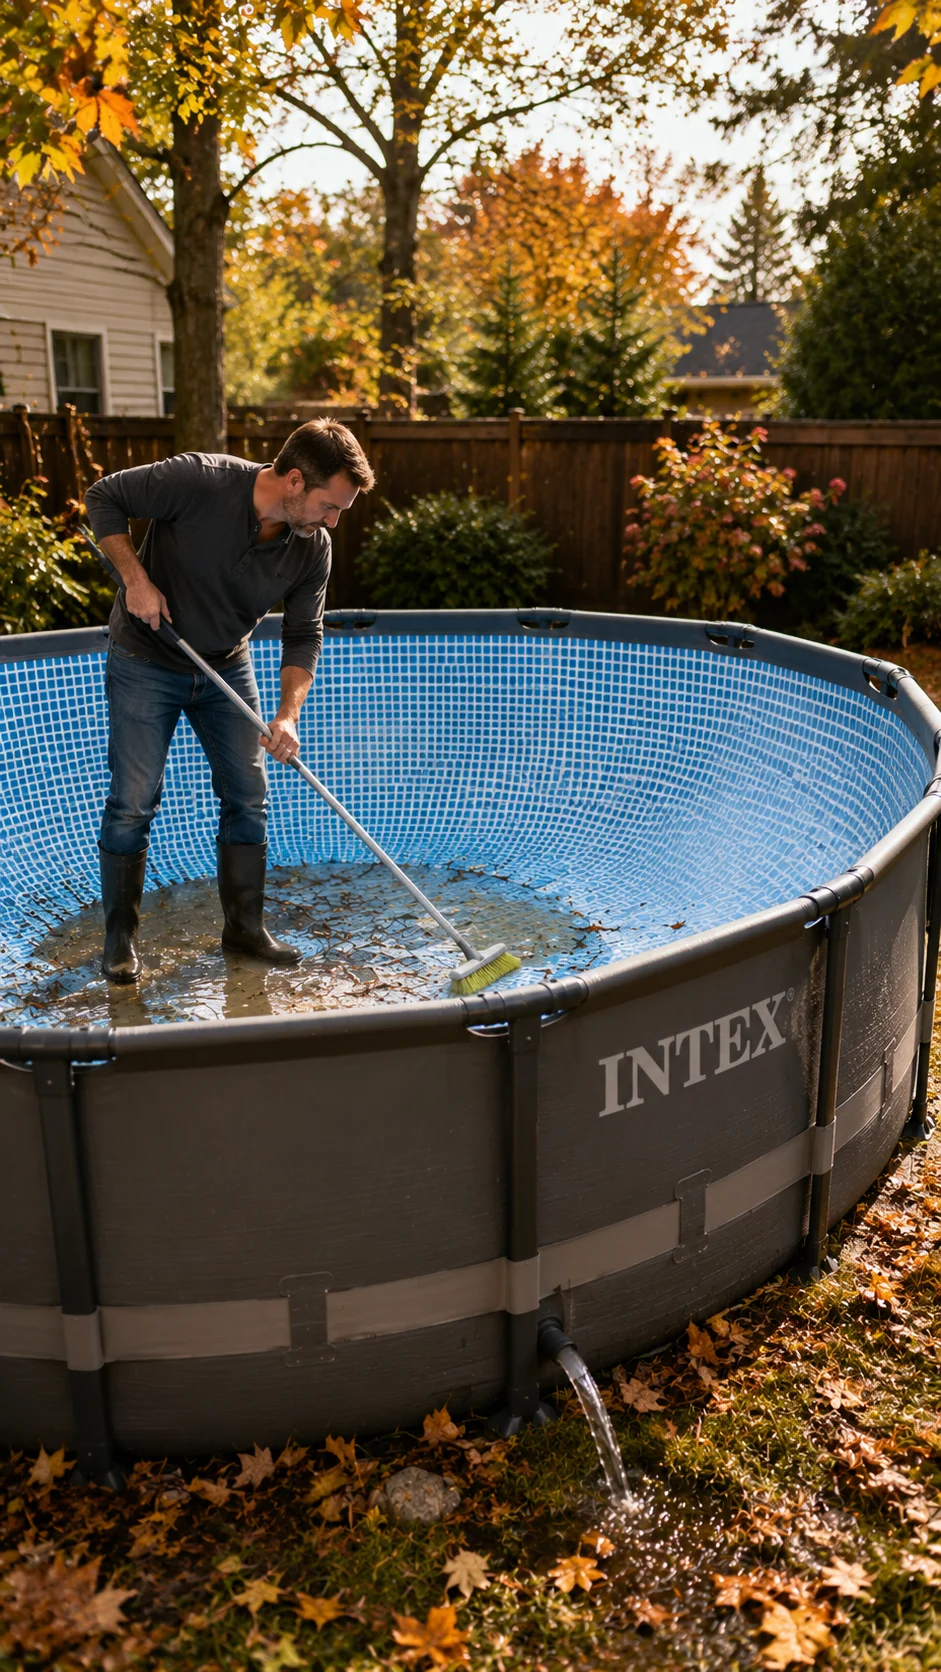
This last idea is less about summer fun and more about protecting your investment — because how you close and store your Intex pool determines whether it lasts one season or five.
We ruined our first Intex pool (a small 10-foot round) by just deflating it and shoving it in the garage without cleaning it properly. By spring, it had mold growing on the inside and a crack in the liner from being stored folded. That was a $150 mistake.
Now, at the end of every summer, we do this:
- Balance the chemicals one last time before draining
- Drain completely using the drain valve and a submersible pump (speeds up the process significantly — worth having one)
- Rinse the entire inside with clean water and a soft brush
- Let it dry completely — this is important, mold is sneaky
- Sprinkle baking soda inside before folding to absorb any remaining moisture
- Fold loosely (not tight), wrap in the original tarp or a large storage bag
- Store in a dry, temperature-stable location (not against a concrete wall, which can transfer moisture)
Properly stored, an Intex pool can realistically last 4–6 summers. Improperly stored, you’re buying a new one every year.
Also, winterize your pump separately. Drain all the water from it, run it for a few minutes while dry to push out any remaining moisture, and store it indoors.
The Mistakes I Made So You Don’t Have To
Before I wrap this up, a quick rundown of the things that cost me time, money, or both:
Not leveling the ground first. Already mentioned this but it bears repeating — it’s the #1 setup mistake people make.
Buying the cheapest chemicals at the dollar store. They’re often weak or improperly formulated. Stick to recognized pool chemical brands like HTH, In The Swim, or the Intex brand itself.
Letting kids eat in the pool. Food particles throw off water chemistry and attract insects. We have a strict no-food-in-the-pool rule now.
Not covering the pool between uses. Debris, UV exposure, and evaporation are constant. The solar cover earns its cost back fast.
Waiting until the water was already green to act. Prevention with regular testing costs less than shock treatments and algaecides after the fact. Test the water three times a week, not twice a month.
Ignoring the filter timer. Running the filter consistently is the single most important thing for water clarity. Set a smart plug on a timer so it runs automatically — this was a game-changer for us. The TP-Link Kasa smart plugs work great for this and cost around $10–$15 each.
Final Thoughts
An Intex pool might not be a permanent in-ground installation, but if you treat it right, it can be the centerpiece of some genuinely great summer memories.
Our backyard went from a place the kids passed through on the way inside to somewhere they’d spend four and five hours at a stretch. We’ve had neighbor kids over, hosted late-evening floats under string lights, and spent more quality time outside as a family than any summer before.
None of these 13 ideas is complicated or expensive. Most of them are just small upgrades and habits that, combined, turn a basic backyard pool into something you’re actually proud of.
Pick two or three from this list that match where you’re starting from, get those going, then layer in the others as the summer rolls on. You don’t need to do everything at once.
And if you’re still on the fence about buying one? Go for it. The worst-case scenario is you sell it next spring. The best case is you wonder why you waited this long.
Have a tip or Intex pool idea that worked for your family? Drop it in the comments — I love hearing what people are doing differently.

Shahid Nawaz is a home and garden content writer at Garden Skillz with over 4 years of experience researching and writing about gardening, plant care, and DIY home improvement. He specializes in turning complex horticultural topics into practical, easy-to-follow guides for beginners and experienced growers alike. Shahid has written extensively on flowering plants, indoor greenery, and seasonal garden care.