Let me be honest with you. The first time I picked up a crochet hook, I was convinced I had somehow been born without the gene that makes crafts work. My yarn looked like it had been through a blender. My “chain” resembled a lumpy rope a toddler might make out of dried pasta. And I had somehow — I still don’t fully understand how — managed to crochet my sleeve to my project.
That was about six years ago, and now crochet is genuinely my favorite thing to do on a rainy Saturday afternoon with a cup of tea and something trashy on Netflix.
So if you’ve picked up a hook and immediately wanted to throw it across the room, I get it. This article is for you. Not for the Pinterest-perfect crafter who’s been doing this since age seven. For real beginners — the ones with clumsy fingers, no patience for complicated diagrams, and zero tolerance for projects that take six months to finish.
I’m going to walk you through 10 easy crochet ideas that actually work for beginners, plus share the mistakes I made so you don’t have to.
Before We Start: A Few Things Nobody Tells You
Before we get into the actual project ideas, let me share a few things I wish someone had told me before I wasted two balls of yarn.
Yarn weight matters more than you think. When I started, I grabbed whatever was cheap. Big mistake. Thick, chunky yarn (labeled “bulky” or “super bulky” on the label) is dramatically easier for beginners. You can see every stitch clearly, and your projects grow fast — which keeps you motivated.
Hook size should match your yarn. The label on your yarn ball will tell you what hook size to use. Usually, it’s something like “5.0mm” or “6.5mm.” Don’t overthink it. Just match them up.
Tension is something you’ll learn over time. Don’t panic if your first few rows look uneven. Mine were a disaster. After about 15 minutes of practice, your hands figure it out naturally.
YouTube is your actual teacher. I learned most of what I know from YouTube channels like Bella Coco Crochet and The Crochet Crowd. Watching someone’s hands move in real time is a thousand times more helpful than reading a pattern. Don’t skip this step.
Now, let’s get into the good stuff.
1. The Classic Dishcloth (Your Very First Project)
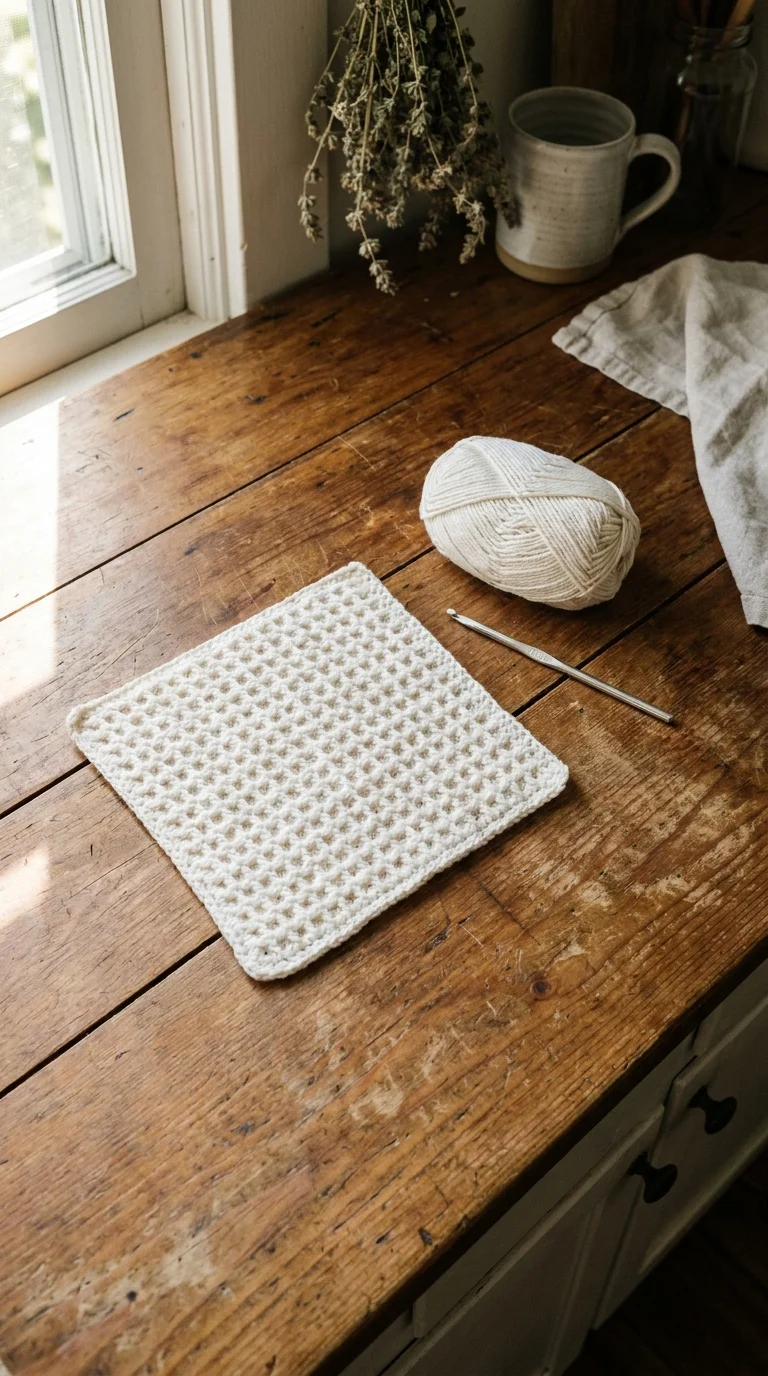
I know, I know. A dishcloth doesn’t sound glamorous. But trust me — this is the single best first project for a complete beginner, and here’s why: it’s flat, it’s small, it’s forgiving, and when you’re done, you can actually use it. That last part matters more than you’d think. There’s something about finishing the first real object that makes you want to immediately start the next one.
What you need:
- Medium-weight cotton yarn (100% cotton is ideal — it’s firm and easy to see)
- 5.0mm crochet hook
- Scissors and a yarn needle
How to do it:
Start by making a chain of 20 stitches. Don’t worry if it looks messy — your first chain always does.
Then, for each row, you’re going to do what’s called a single crochet stitch across all 20 stitches, then turn your work and do another row. Repeat this until your dishcloth is roughly square — usually around 20 rows.
Single crochet is the most basic stitch in crochet. It’s just: insert hook, pull up a loop, pull through both loops. That’s it. If you can do that, you can make this dishcloth.
The mistake I made: I kept adding extra stitches without realizing it, so by row 10, my “square” looked like a trapezoid. The fix? Count your stitches at the end of every single row when you’re learning. Yes, every single one. It sounds tedious, but it saves you so much frustration.
2. A Simple Infinity Scarf
Once you’ve got single crochet down, an infinity scarf is an incredibly satisfying project because it looks impressive but is genuinely just one long rectangle sewn into a loop.
The beauty of this project is that there’s no shaping involved. No increases, no decreases, no complicated pattern. You just crochet one long strip and join the ends.
What you need:
- Bulky or super bulky yarn in any color (I love a good neutral — cream, grey, dusty rose)
- 8.0mm or 10.0mm hook
- Yarn needle to seam the ends
The process:
Chain about 150 stitches (this gives you roughly 60 inches of length when you’re done). Then work single crochet or a stitch called half double crochet back and forth for about 15 rows. Half double crochet is only slightly more complex than single, but it creates a softer, more drapey fabric that’s perfect for scarves.
When your rectangle is wide enough (4–5 inches is nice for a scarf), cut your yarn, leave a long tail, and sew the two short ends together using your yarn needle. Flip it so the seam is hidden and you’re done.
I made my first infinity scarf in a single evening while watching a movie. It wasn’t perfect — one end was slightly wider than the other — but I wore it all winter and got compliments on it. Nobody noticed the uneven tension except me.
Pro tip: If you use a really thick “chunky” yarn and a large 12mm hook, this project can be done in under two hours. Great for a last-minute gift.
3. A Crochet Headband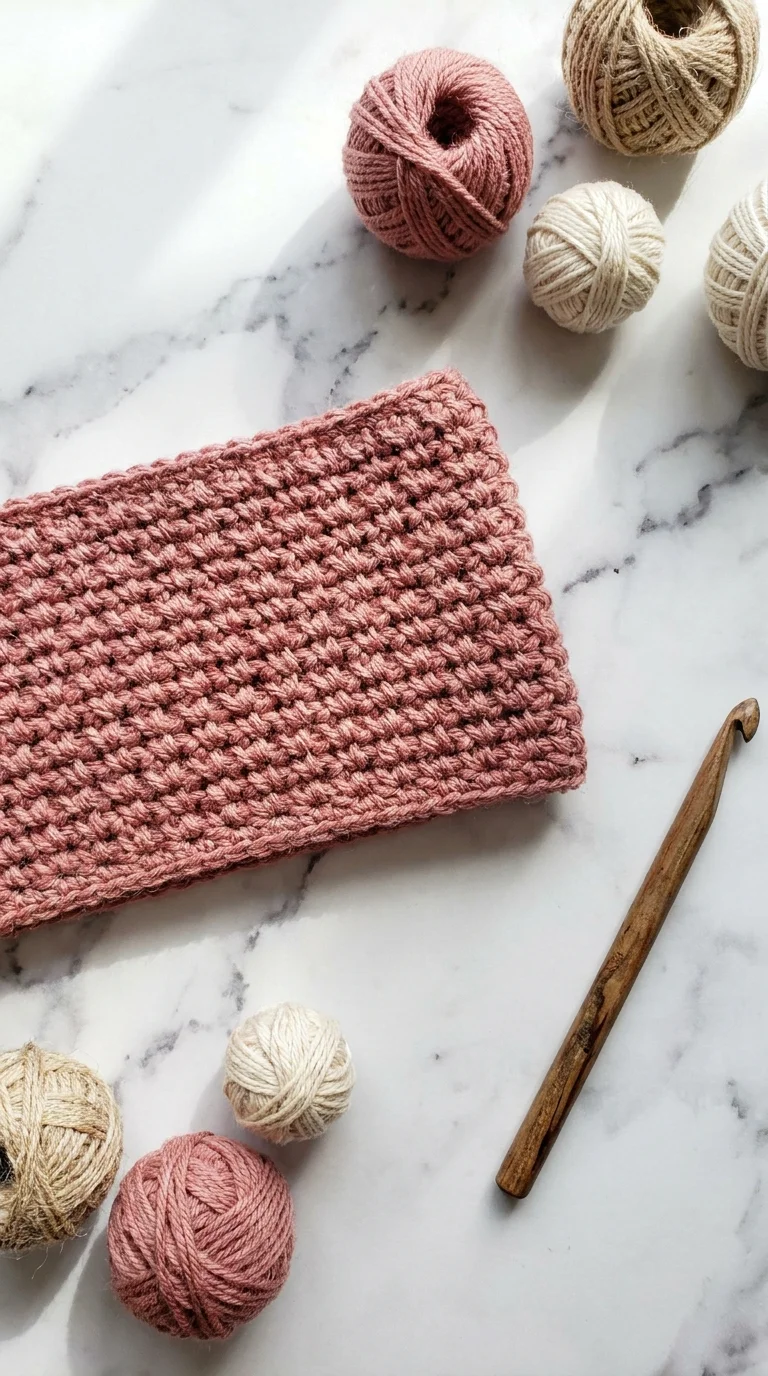
Okay, so this one changed everything for me in terms of confidence. It’s basically the same concept as the infinity scarf but way, way smaller. We’re talking 15–20 minutes once you know what you’re doing.
You’re crocheting a narrow rectangle (about 3 inches wide and 18–20 inches long, depending on your head size), then seaming the ends together.
The stitch I recommend here is the moss stitch (also called the linen stitch). It sounds fancy, but it’s just alternating single crochets and chain stitches. The result is this beautiful woven texture that looks like it took skill. It didn’t. It takes about 20 minutes.
What makes this beginner-friendly: Because it’s small, you only have maybe 10 stitches per row. Counting is easy. Mistakes are easy to spot. And if the whole thing goes sideways, you’ve only used a tiny bit of yarn.
I made seven of these as Christmas gifts one year. My sister-in-law still wears hers.
4. A Chunky Throw Blanket (The Long Game)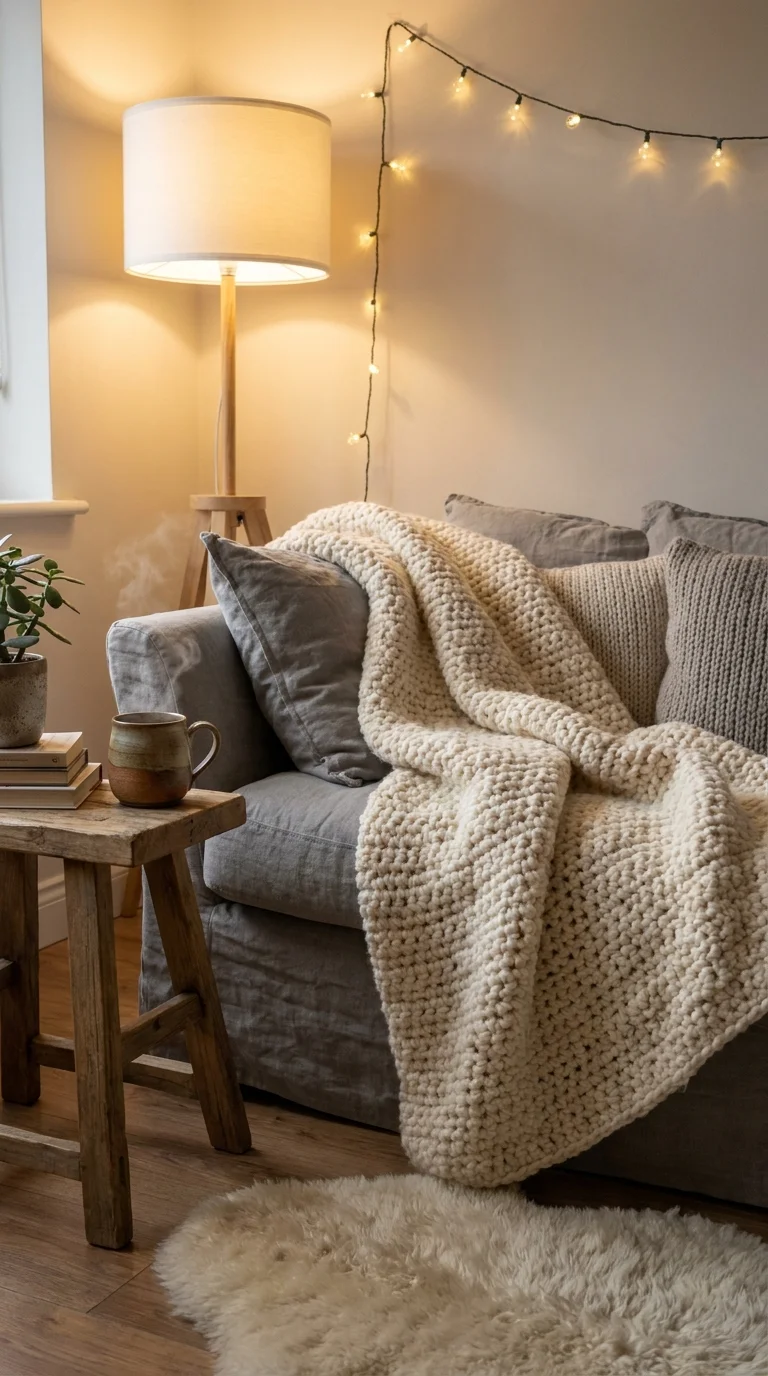
This one is NOT a weekend project — let me be upfront about that. A full-size throw blanket took me about three weeks of casual crocheting. But it is absolutely within beginner reach, and the result is stunning.
The secret is using arm-thick chenille yarn (sometimes called “giant yarn” or “velvet yarn”) and a massive hook — think 15mm to 25mm. Some people even do this with their arms instead of a hook, but I find a large hook more controllable.
The pattern: Literally just chains and single crochets. Nothing else. You chain the width you want (for a lap blanket, about 60–70 chains), then single crochet back and forth until it’s the length you want. That’s the whole pattern.
The chunky yarn hides uneven tension beautifully. This is genuinely a project where being a beginner works in your favor because nobody can tell if your stitches are slightly different sizes — it all blends.
The mistake I made: I bought cheap acrylic yarn for my first blanket. It came out fine but felt scratchy. For a blanket you’re actually going to snuggle under, spend a little more on a soft merino or chenille blend. You’ll feel the difference every time you use it.
5. A Market Bag or Tote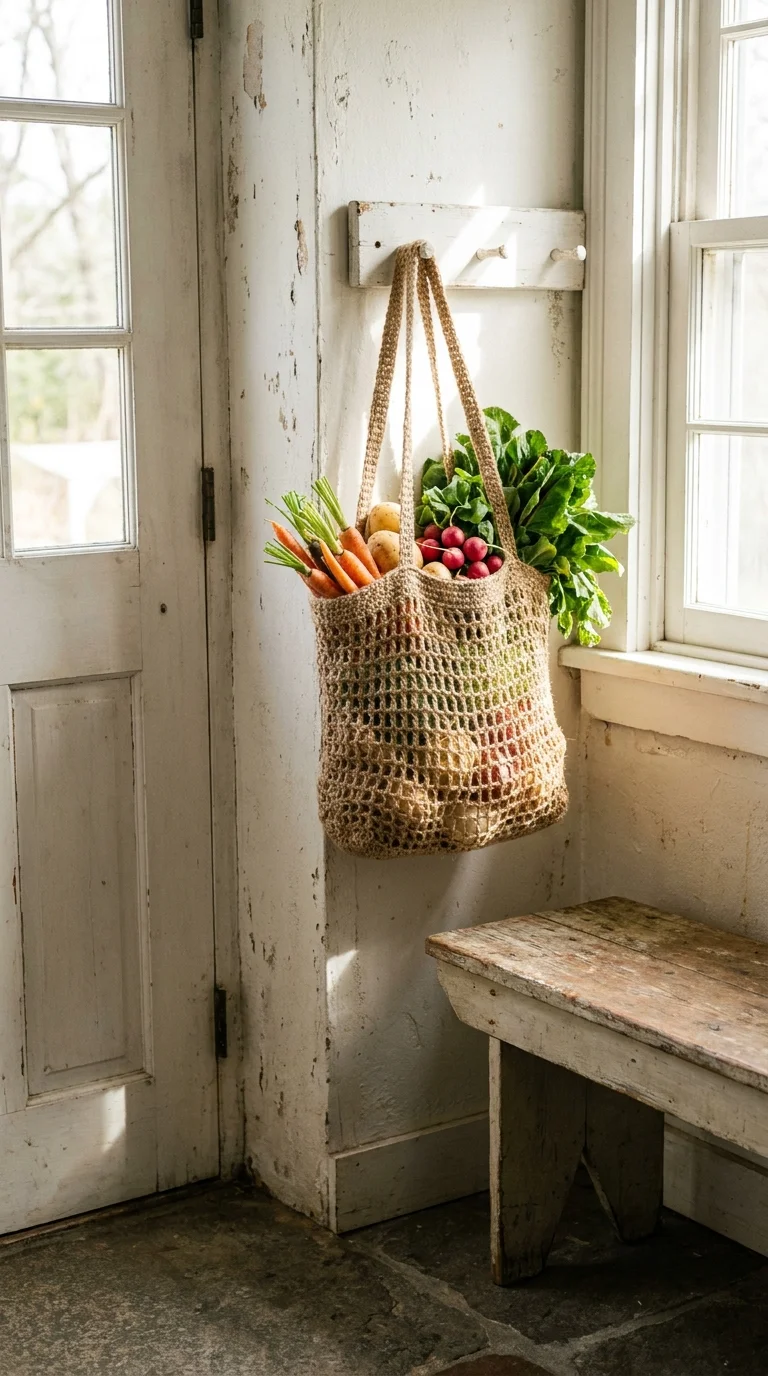
This one is incredibly useful and surprisingly simple. A basic market bag is just a rectangle folded in half and seamed up the sides, with handles added at the top.
The stitch that works best for bags is the waistcoat stitch (also called the knit stitch), which creates a dense, sturdy fabric. But honestly, even plain single crochet works great.
Materials you’ll need:
- Cotton twine or jute yarn (strong and holds its shape)
- 4.0mm–5.0mm hook
- Scissors and yarn needle
Chain about 40 stitches for a medium-sized bag. Work your rows until the piece is about 18 inches long. Fold in half, seam the sides, and crochet two long chains for handles. Attach them, and you’re done.
I use mine for grocery shopping every week. It holds more than a plastic bag, looks adorable, and I made it myself for less than $5 in materials.
Tip: For the handles, instead of just a chain (which can dig into your hand), work 3–4 rows of single crochet over the chain to create a flat, comfortable strap.
6. Crochet Plant Pot Holders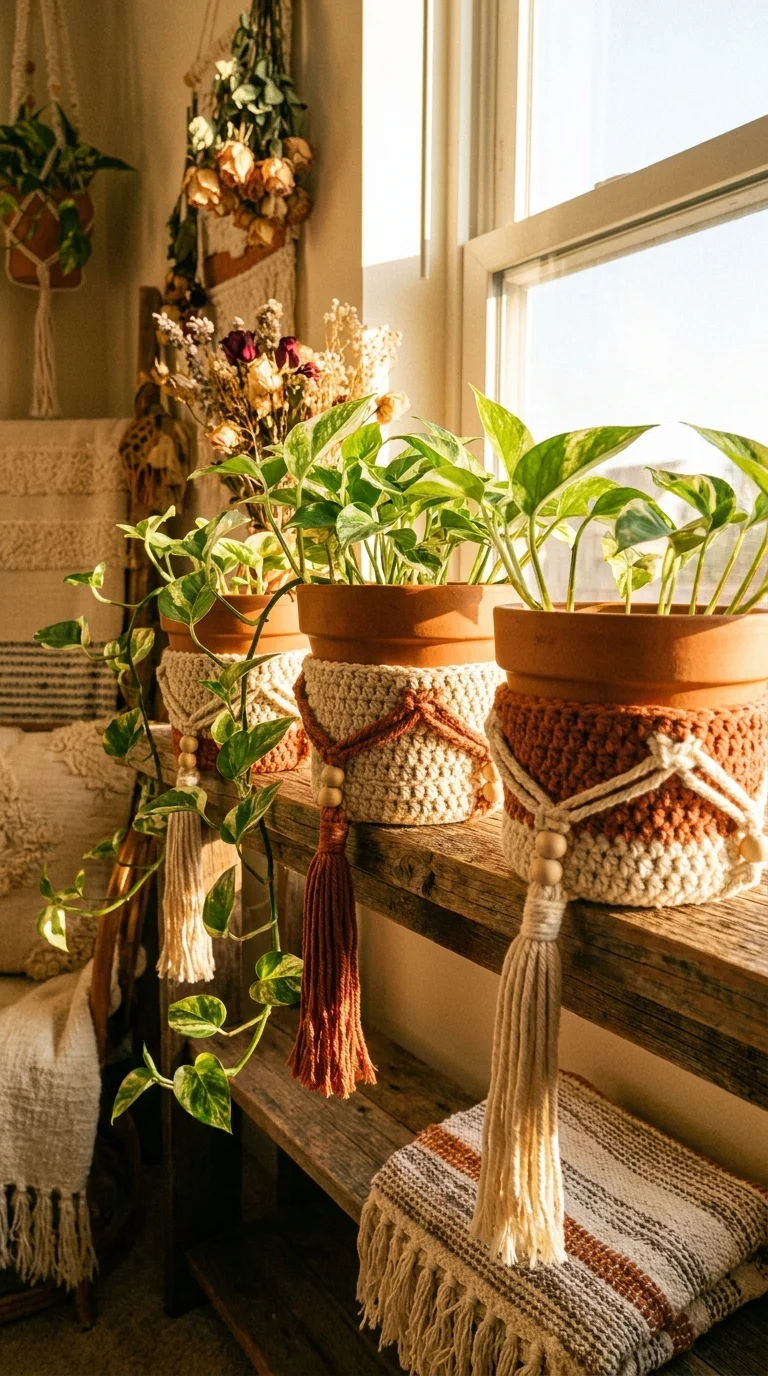
This was the project that officially made me feel like A Real Crafter.
Plant pot holders (also called plant hangers or pot cozies) are small, tube-shaped pieces that sit around terracotta pots, making them look incredibly boho and intentional. They’re genuinely quick — I can make one in about 45 minutes now — and they make a huge difference in how a space looks.
The process:
You’re crocheting in the round here, which sounds intimidating but is really just crocheting in a circle rather than back and forth. Start with a magic ring (watch a video for this — it’s one of those things that’s confusing in text but takes about 30 seconds to understand visually), then increase every round until you have a circle the size of the bottom of your pot.
Once it’s wide enough, stop increasing and keep crocheting even rounds until the tube is tall enough to cover your pot.
This is where I discovered that crocheting in rounds is actually easier in many ways than crocheting back and forth, because you don’t have to turn your work and you don’t have a “wrong side.”
What I’d do differently: My first pot holder came out slightly too small because I didn’t measure the pot before starting. Measure the diameter of the pot bottom, make sure your circle matches, and you’re good.
7. A Simple Crochet Hat
I was intimidated by hats for a long time because I assumed shaping was hard. Then I actually tried it and realized that a basic beanie is just a circle that you turn into a tube.
How it works:
You start at the top of the hat, crocheting a flat circle using increases (adding stitches) until it’s about 7–8 inches across. Then you stop increasing and just work even rounds until the hat is as long as you want it (usually 8–10 inches total from crown to brim).
The only “technique” involved is the increase: instead of one stitch in the next stitch, you work two. That’s it. An increase is literally just doing the same stitch twice in the same spot.
I made my first hat with chunky grey wool yarn and a 10mm hook. It was slightly too big for my head, and the brim was uneven, but it kept me warm all winter, and I was proud every single time I wore it.
For a cuffed beanie: Just keep crocheting a few extra inches past where you’d normally stop, and those extra inches naturally fold up into a cuff. Magic, right?
8. Crochet Coasters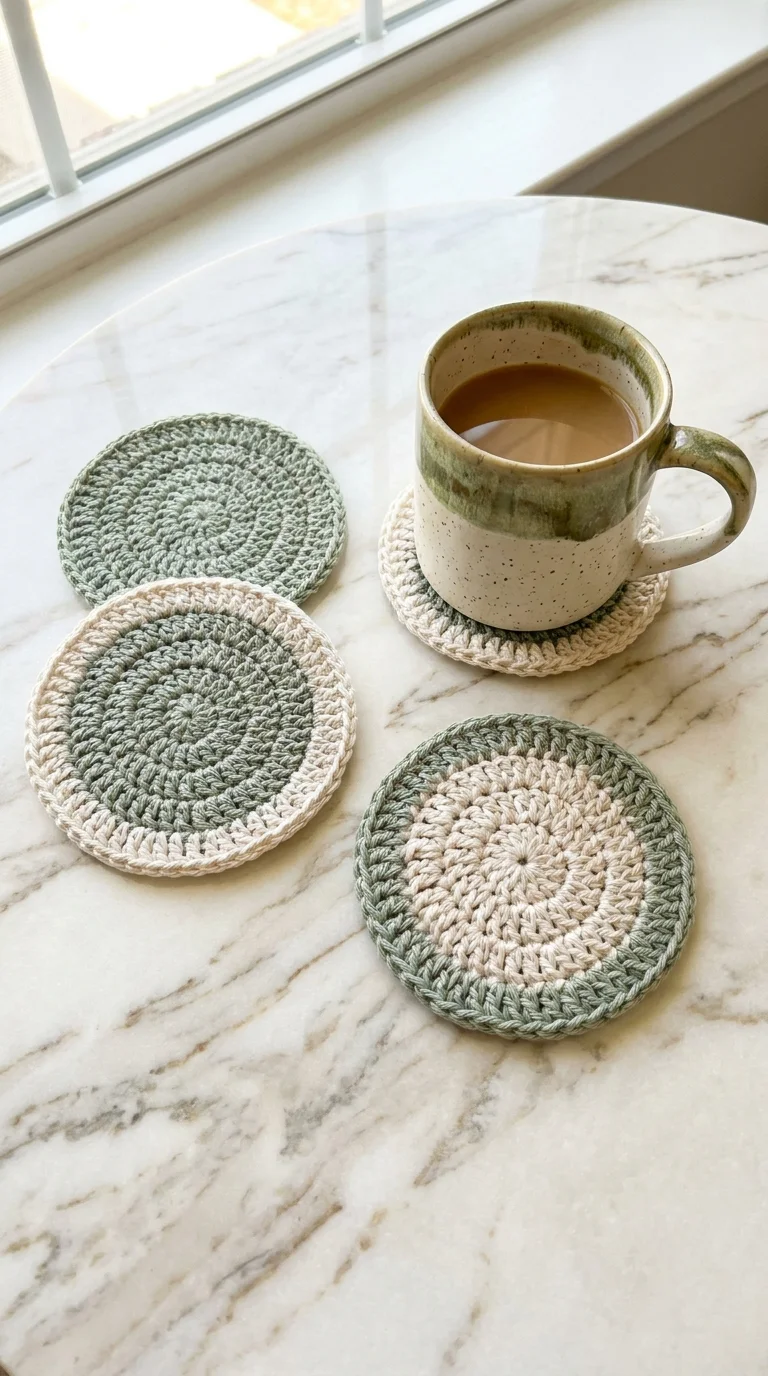
Quick. Satisfying. Genuinely useful. And they make excellent gifts.
A crochet coaster is just a small circle (or square, or hexagon — your choice) about 4 inches across. You’re done in 20–30 minutes per coaster, and a set of four looks adorable on a coffee table.
The texture trick: Use a stitch called the bobble stitch or the puff stitch on your coasters for a rigid texture that actually grips cups and stops them from sliding. Both of these look complicated but are just variations of the same basic idea: you partially complete several stitches in the same spot before pulling through all the loops at once, creating a little raised “puff.”
Watch a 2-minute video, practice it on a swatch, and then go to town on your coasters.
Cotton yarn is best here because it’s absorbent and machine washable. I’ve been using a set I made two years ago, and they still look great.
9. A Crochet Wall Hanging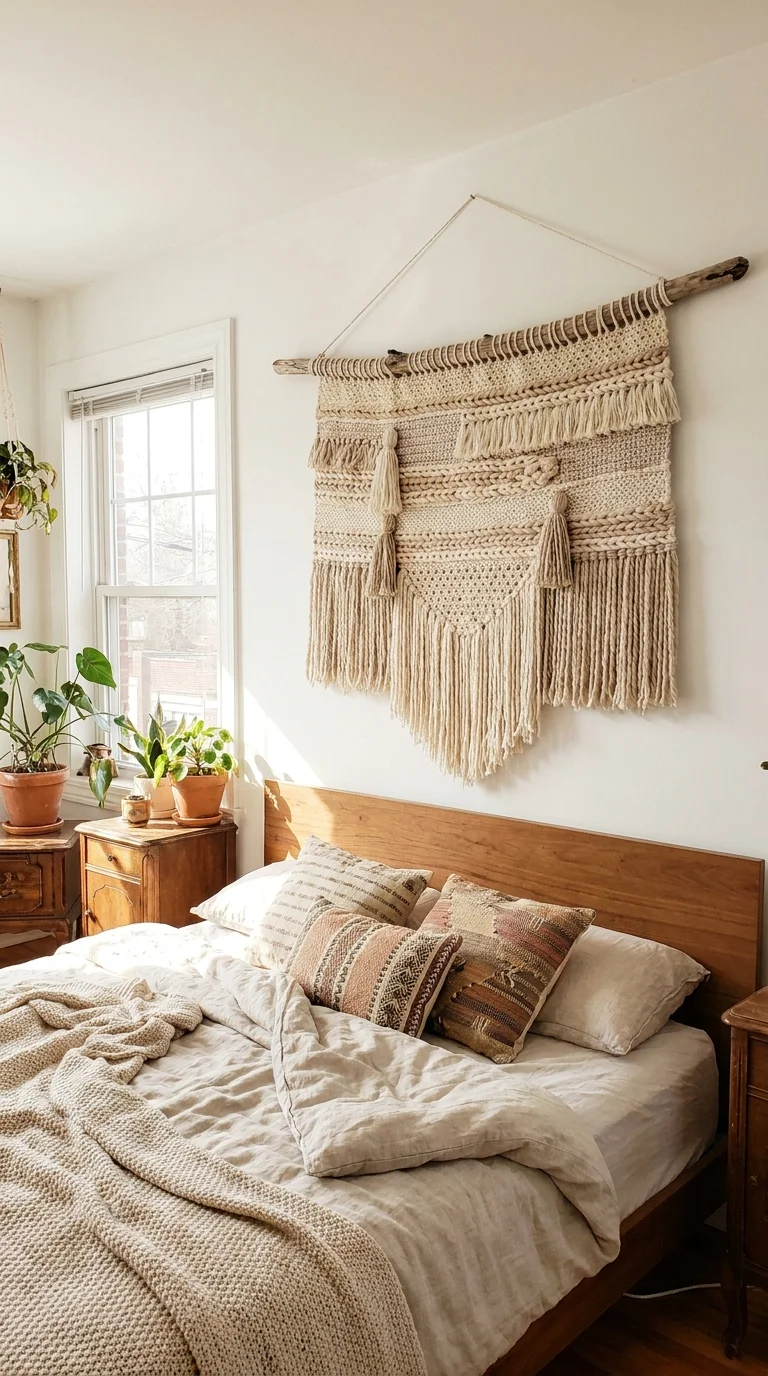
This one is more about texture and creativity than technical skill. A wall hanging is exactly what it sounds like — a decorative piece you hang on the wall — and it’s a fantastic project for beginners because there are no rules about size or shape.
The basic concept:
Attach a length of yarn to a wooden dowel (you can find these at any craft store for under $2). Crochet long, loose strips in different stitches and textures — some tighter, some looser, some with fringe at the bottom. Add different colors if you like. Mix in some natural jute twine for texture.
Because this is a decorative piece and not something functional, it doesn’t matter if your tension varies. In fact, varied tension can look intentional and artsy.
My first wall hanging took about an hour and now lives above my bed. It looks like something from an expensive home decor boutique, and it cost me about $8 in materials.
The fringe: To add fringe, just cut lengths of yarn twice as long as you want the fringe, fold them in half, and pull the folded loop through the bottom of your work before threading the ends through the loop and pulling tight. It’s called a lark’s head knot, and it’s incredibly simple once you try it.
10. A Baby Blanket (Your First “Gift-Level” Project)
I’m including this last because it requires a bit more patience, but baby blankets are among the most rewarding things you can crochet. They’re smaller than an adult blanket, which means they’re actually achievable in a reasonable timeframe, and they are genuinely cherished gifts.
The pattern I always recommend for beginners is the moss stitch baby blanket — it’s the same alternating single crochet and chain 1 pattern I mentioned for the headband, just scaled up. The result is a lightweight, slightly textured blanket with a professional finish.
What to use: Soft, machine-washable yarn is non-negotiable for baby items. Look for yarn labeled “superwash” or specifically marketed for baby items. Lion Brand’s “Baby Soft” and Paintbox “Simply DK” are both great, affordable options.
Chain about 100 stitches for a small baby blanket. Work your moss stitch rows until the piece is roughly square (about 30×30 inches). Add a single crochet border all the way around the edge to tidy it up, and you’re done.
I gave a blanket like this to my best friend when she had her second baby, and she told me she keeps it in the car for emergencies. That’s when I knew it was a real success.
Common Mistakes to Avoid (From Someone Who Made All of Them)
Skipping the slip stitch to close your rounds. When you’re working in the round, each round needs to be joined with a slip stitch before you start the next one. I kept forgetting this early on, and my circles would spiral off in weird directions.
Crocheting too tightly. This is the most common beginner problem. If your hook is hard to pull through the loops, you’re holding the yarn too tight. Consciously try to loosen your grip. Your tension will naturally relax over time.
Using the wrong yarn for your project. Slippery acrylic yarn is very hard to work with as a beginner because it slides off the hook constantly. Start with a slightly “grabby” yarn — wool, cotton, or a wool-acrylic blend — until your hands get the feel of things.
Not leaving a long enough tail when you start. Leave at least 6 inches at the beginning of every project. You need that tail to weave in at the end, and if it’s too short, you’ll have a really frustrating time with your yarn needle.
Buying cheap hooks. I started with a basic plastic hook from a dollar store. It had a rough spot that kept catching my yarn and nearly drove me to quit entirely. A decent set of aluminum hooks (Clover and Susan Bates are both good budget brands) costs about $10–15 for a full set and makes an enormous difference.
The Apps and Tools That Actually Helped Me
Ravelry (ravelry.com) is the holy grail of crochet patterns. Free to use, millions of patterns, and you can filter by skill level and project type. I’ve used it for years.
YouTube — I can’t say this enough. Bella Coco Crochet, Fiber Flux, and The Crochet Crowd are my go-to channels. For absolute beginners, search “crochet for absolute beginners” and spend 30 minutes watching before you even pick up a hook.
Row counter apps — There are free apps (I use “Knit & Crochet Counter”) that let you tap the screen to count rows. This sounds unnecessary until you’ve lost count of your rows for the fourth time in an afternoon.
A stitch marker — These are tiny plastic rings (or you can use a safety pin) that you put in your work to mark a specific stitch. When crocheting in the round, always mark the first stitch of each round so you know where it starts. Game changer.
One More Thing
Here’s what I want you to know before you start: your first project will be imperfect. It will have wonky edges and maybe a hole where there shouldn’t be one, and the tension will probably vary across rows.
And that’s completely fine.
Every single person who crochets started exactly where you are. The only way to get better is to actually make the things, mistakes included. And the funny thing about handmade objects is that their little imperfections are part of what makes them special.
I still have the very first dishcloth I ever made. It’s lopsided, the tension is inconsistent, and it somehow ended up about twice as long as it should be. But I made it with my own hands, and I remember exactly where I was sitting when I finally figured out how to turn my work without losing stitches.
Start with the dishcloth. Make the mistakes. Learn from them. Then make the scarf, and then the blanket, and then one day you’ll realize you’ve been crocheting for an hour without even thinking about technique — just making something beautiful, stitch by stitch.
That’s when you’ll know you’ve got it.
Have you tried any of these projects? I’d love to hear how they went — especially the disasters. Those are always the best stories.

Shahid Nawaz is a home and garden content writer at Garden Skillz with over 4 years of experience researching and writing about gardening, plant care, and DIY home improvement. He specializes in turning complex horticultural topics into practical, easy-to-follow guides for beginners and experienced growers alike. Shahid has written extensively on flowering plants, indoor greenery, and seasonal garden care.